Español
Login
Impresoras 3D
Materiales
Piezas y accesorios
Para Empresas
Software
Modelos 3D
Comunidad
Ayuda
Cursos
Blog
Empresa
Soporte
Original Prusa MINI+
Original Prusa MINI Enclosure (1.0)
White LED strip (add-on) | Herramientas necesarias para este capitulo
1. Herramientas necesarias para este capitulo
Paso 1 de 34 (Capítulo 5 de 8)
Contenidos
Comentarios
⬢
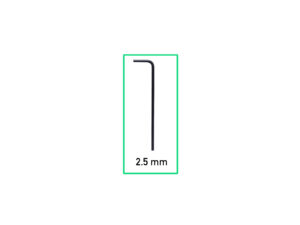
Para este capítulo, prepara por favor:
⬢
2.5mm Allen key
Loading...
Siguiente
Contenidos
Original Prusa MINI Enclosure
1. Introduction
2. Assembling the Enclosure
3. Installing the printer
Sistema de filtración avanzado (complemento)
White LED strip (add-on) [Traducción en desarrollo]
Herramientas necesarias para este capitulo
Additional tools
Optional parts
Desmontaje del brazo lateral
Disconnecting the cables
Uninstalling the printer
Delta PSU: parts preparation
Releasing the rear foot
Guiding the PSU cable
Securing the rear foot
Releasing the front foot
Securing the PSU cable
Tira LED blanca: preparación de las piezas
Assembling the LED strip
Assembling the LED strip
Montaje de la tira LED
LED cable: parts preparation
Guiding the LED cable
Basic Board: parts preparation
Installing the Basic Board
Installing the Basic Board
Mounting the Basic Board
Connecting the Basic Board
PSU holder clarification (optional)
PSU holder: parts preparation (optional)
PSU holder nut preparation (optional)
PSU holder preparation (optional)
Attaching the PSU holder (optional)
Securing the PSUs (optional)
Installing the printer
Adjusting printer position
Connecting the cables
Montaje del brazo lateral
That's it
Sistema de Extinción de Incendios (complemento)
Mechanical lock (add-on)
Registro de cambios del Manual del kit de MINI Enclosure
Comentarios
Inicia sesión
para publicar un comentario
Sin comentarios