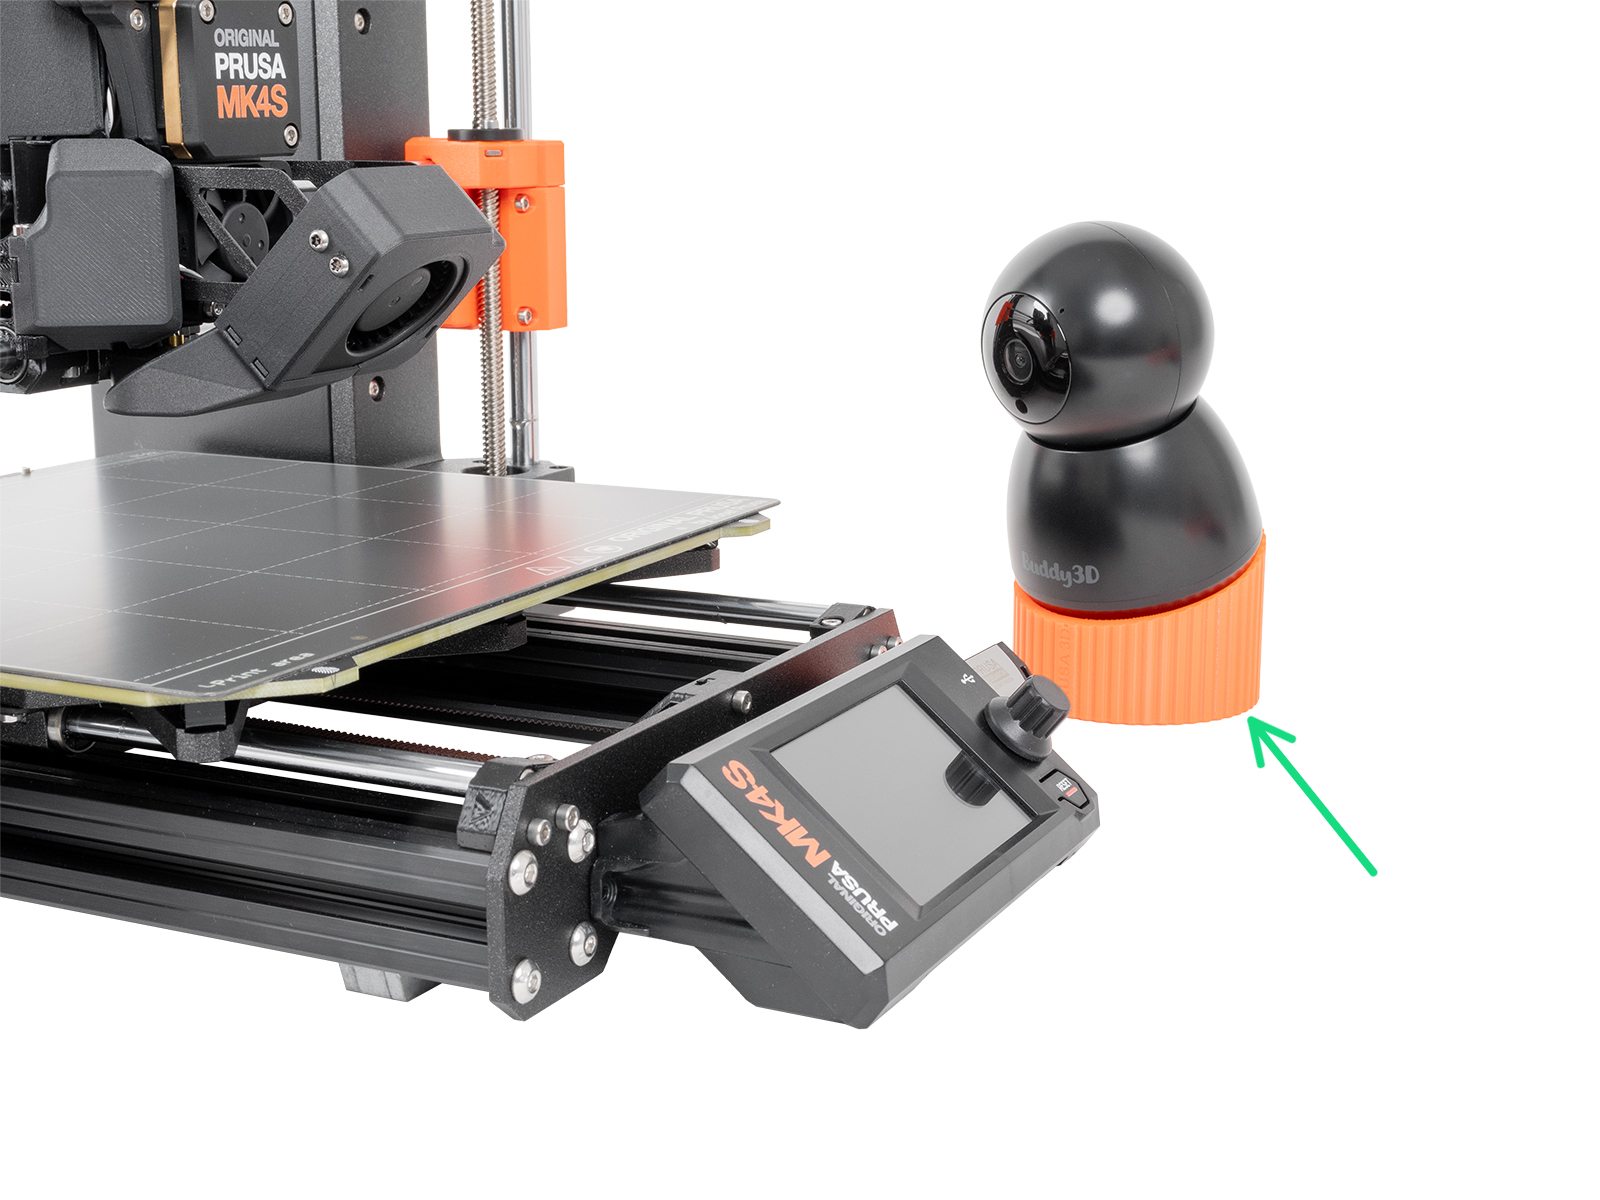
The Buddy3D camera features high-quality optics and IR illumination, allowing you to monitor your printer even in complete darkness.
The camera can be powered by a USB-C connection. The device supports the MicroSD memory card format. Before inserting, the card must be formatted (supported formats: FAT32, exFAT) and inserted into the camera when the camera is turned off.
See below for instructions on how to install the Buddy3D camera. Note that the printer has to be powered on for the procedure.
- Login to Prusa Connect on your phone or computer browser. It is not possible to connect the camera through the Prusa App, only to see the camera after it is already connected.
- Enter the printer you want to use with the camera.
- Click on the "Camera" tab.
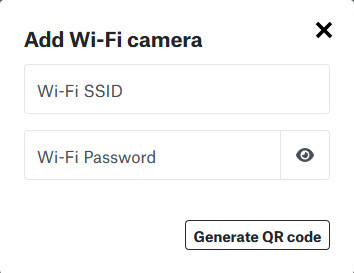
- Click on "Add Wi-Fi Camera".

- On the pop-up window that will appear, fill in the WiFi network name (SSID) and password that the printer is connected to and click Generate QR code. The maximum length of the Wi-Fi network name accepted is 26 characters.
- Subsequently, the camera needs to be connected to the power supply. A green LED near the camera itself will start blinking fast, showing that the camera is not paired.
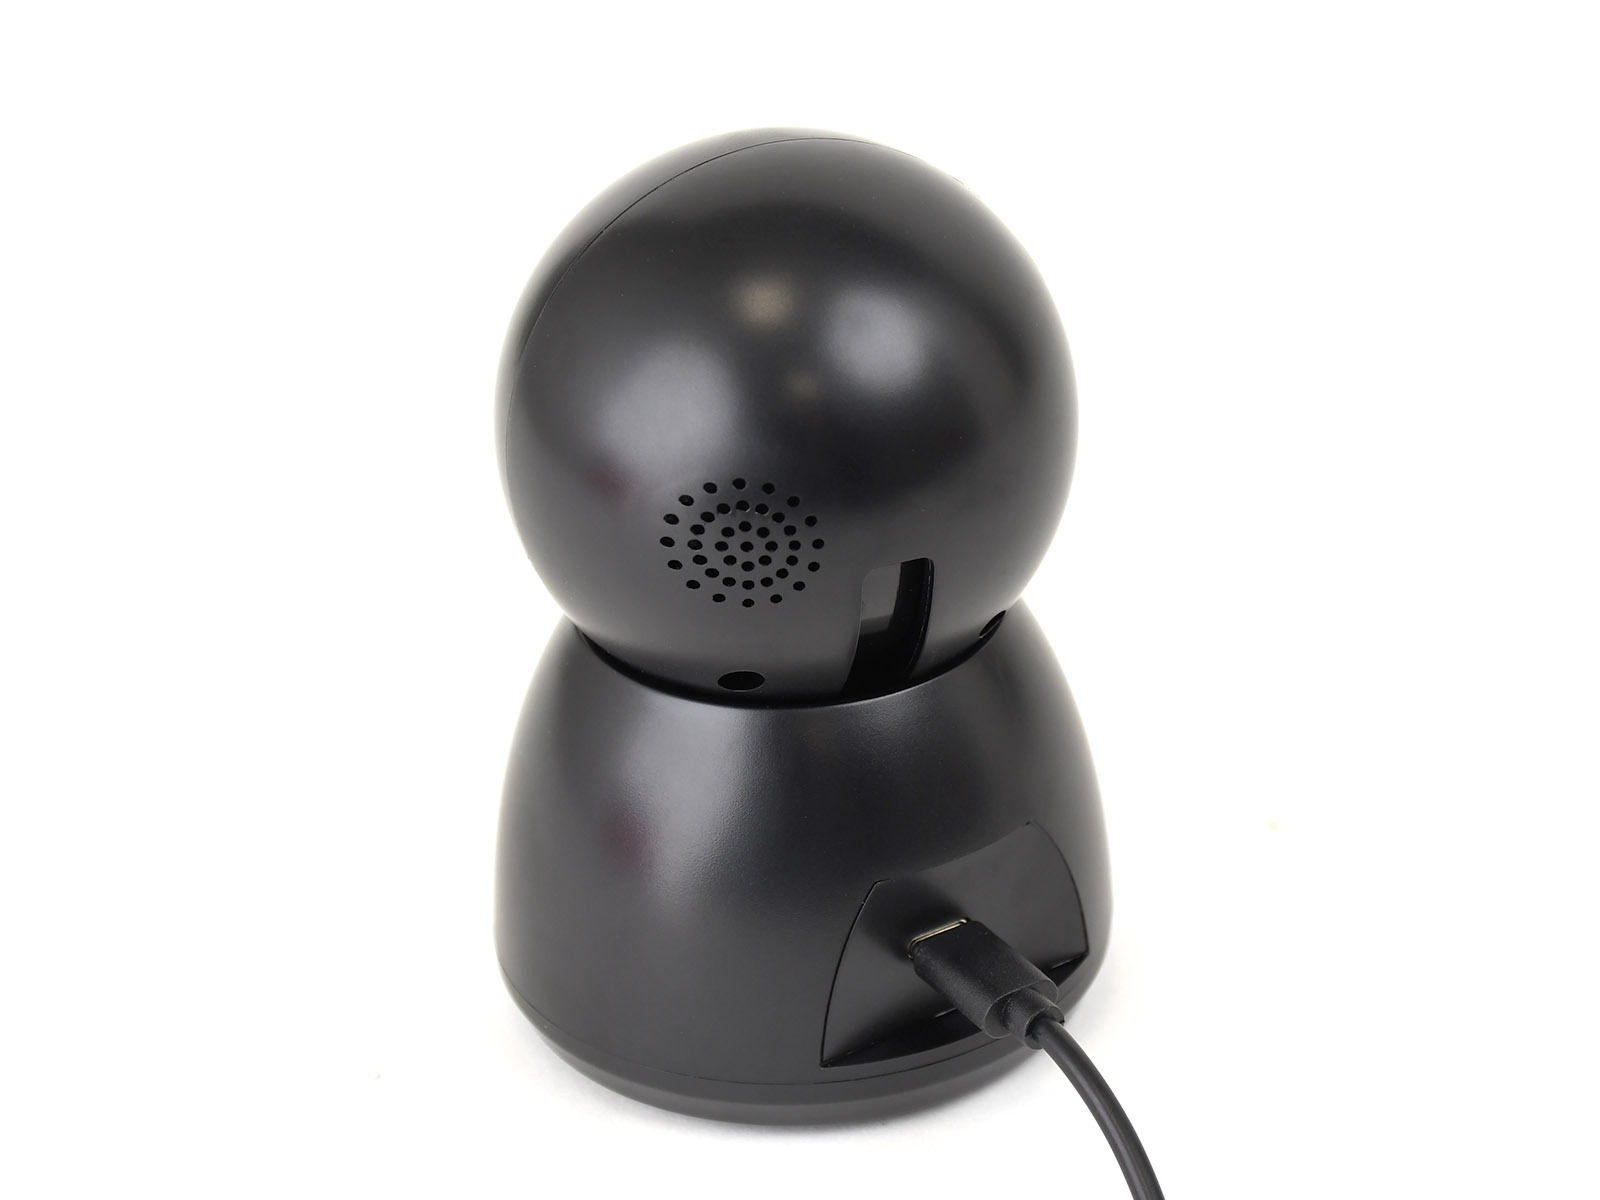
- To enter pairing mode, reset the camera by pressing the reset button for 1 second. The button is located on the underside of the rotating top of the camera. Point the camera up to see the button near the Micro SD card slot.
 |  |
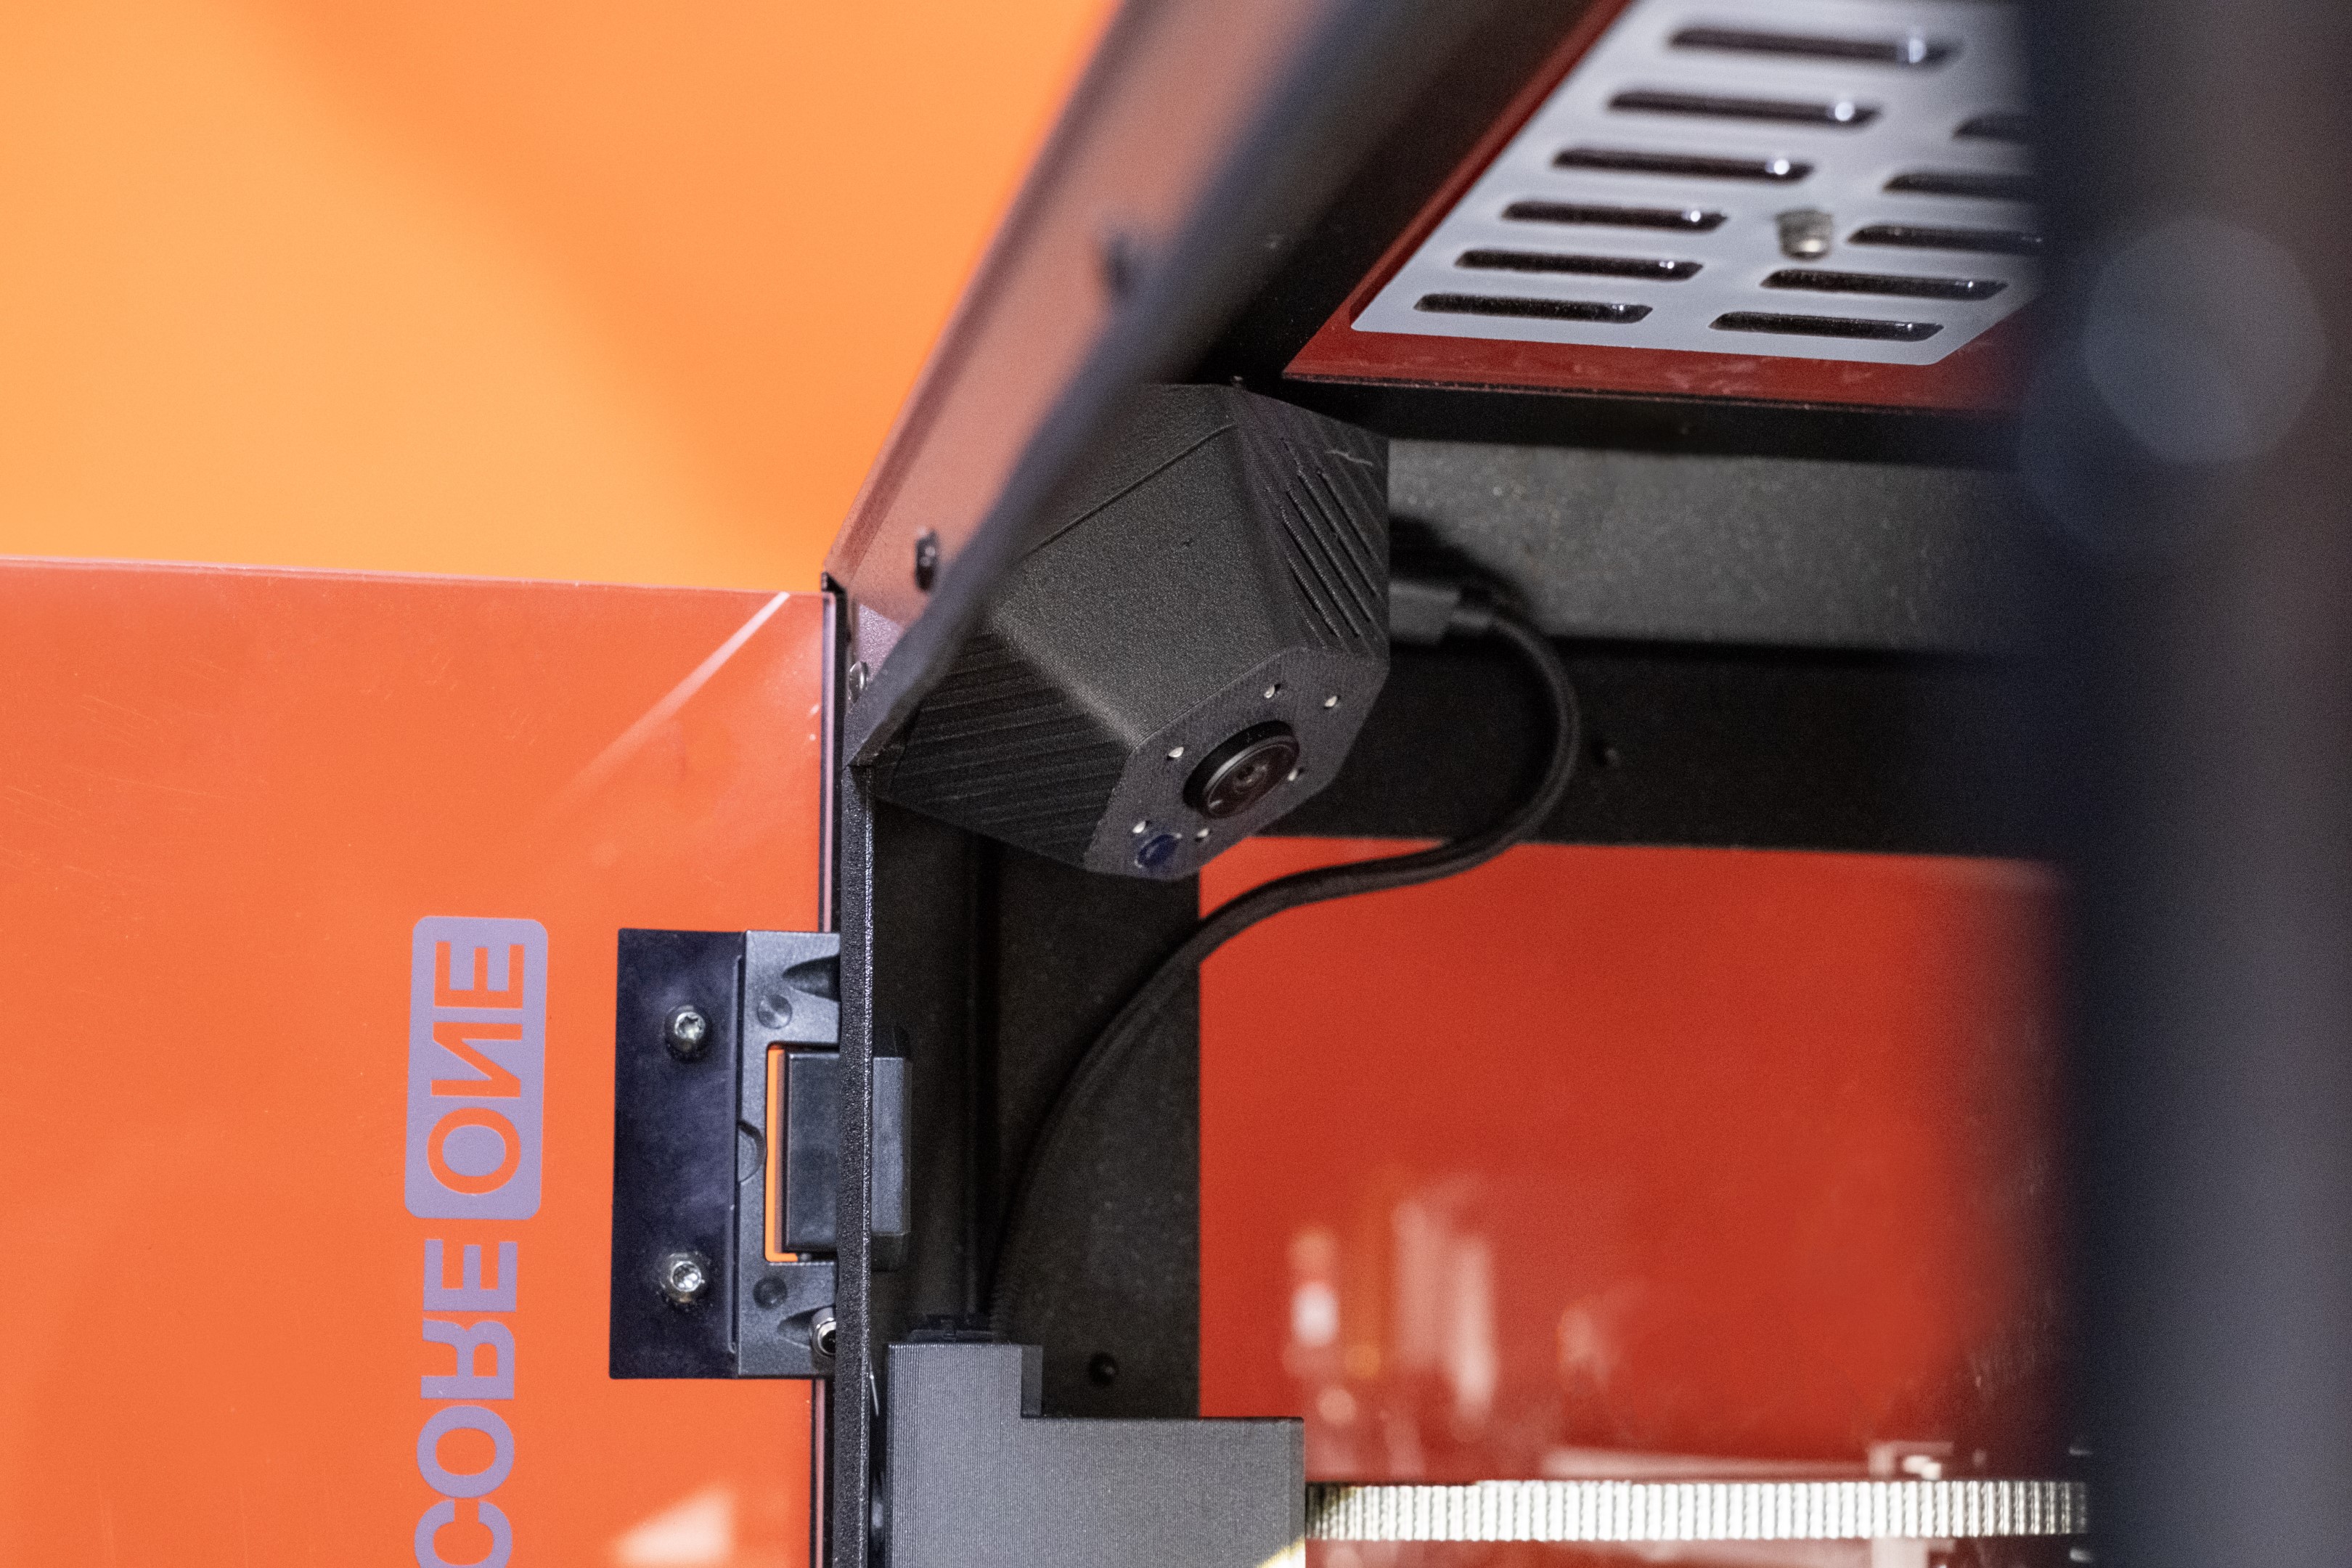
| Buddy3D Camera reset button | CORE One Camera reset button. It needs to be pressed with an Allen key. |
- Point the camera at the generated QR code. Do not use dark mode. You might need to try different distances from the camera to the code. A tone will sound after scanning the QR code. Note that the image might take a few seconds to appear.
-
-
-
- Successful QR code reading = short beep
- Unsuccessful pairing = 3 long tones
- Successful camera network connection = "Welcome tone"
-
-
- After a successful connection, the first image in Connect will be displayed. The green LED on the camera will blink slowly, showing that it is connected.
- The camera will automatically update after connecting to the Internet for the first time. The camera will play a tone after a successful update. You can then start using your Buddy3D camera.
Prusa CORE One
The camera has magnets embedded in the casing and snaps to metal frame of the CORE One, specifically to the front corners. While you can route the cables to either of the front corners, we suggest mounting the camera in the left corner, as the cabling will be a bit neater.
PrusaXL
You'll find step-by-step guide here.
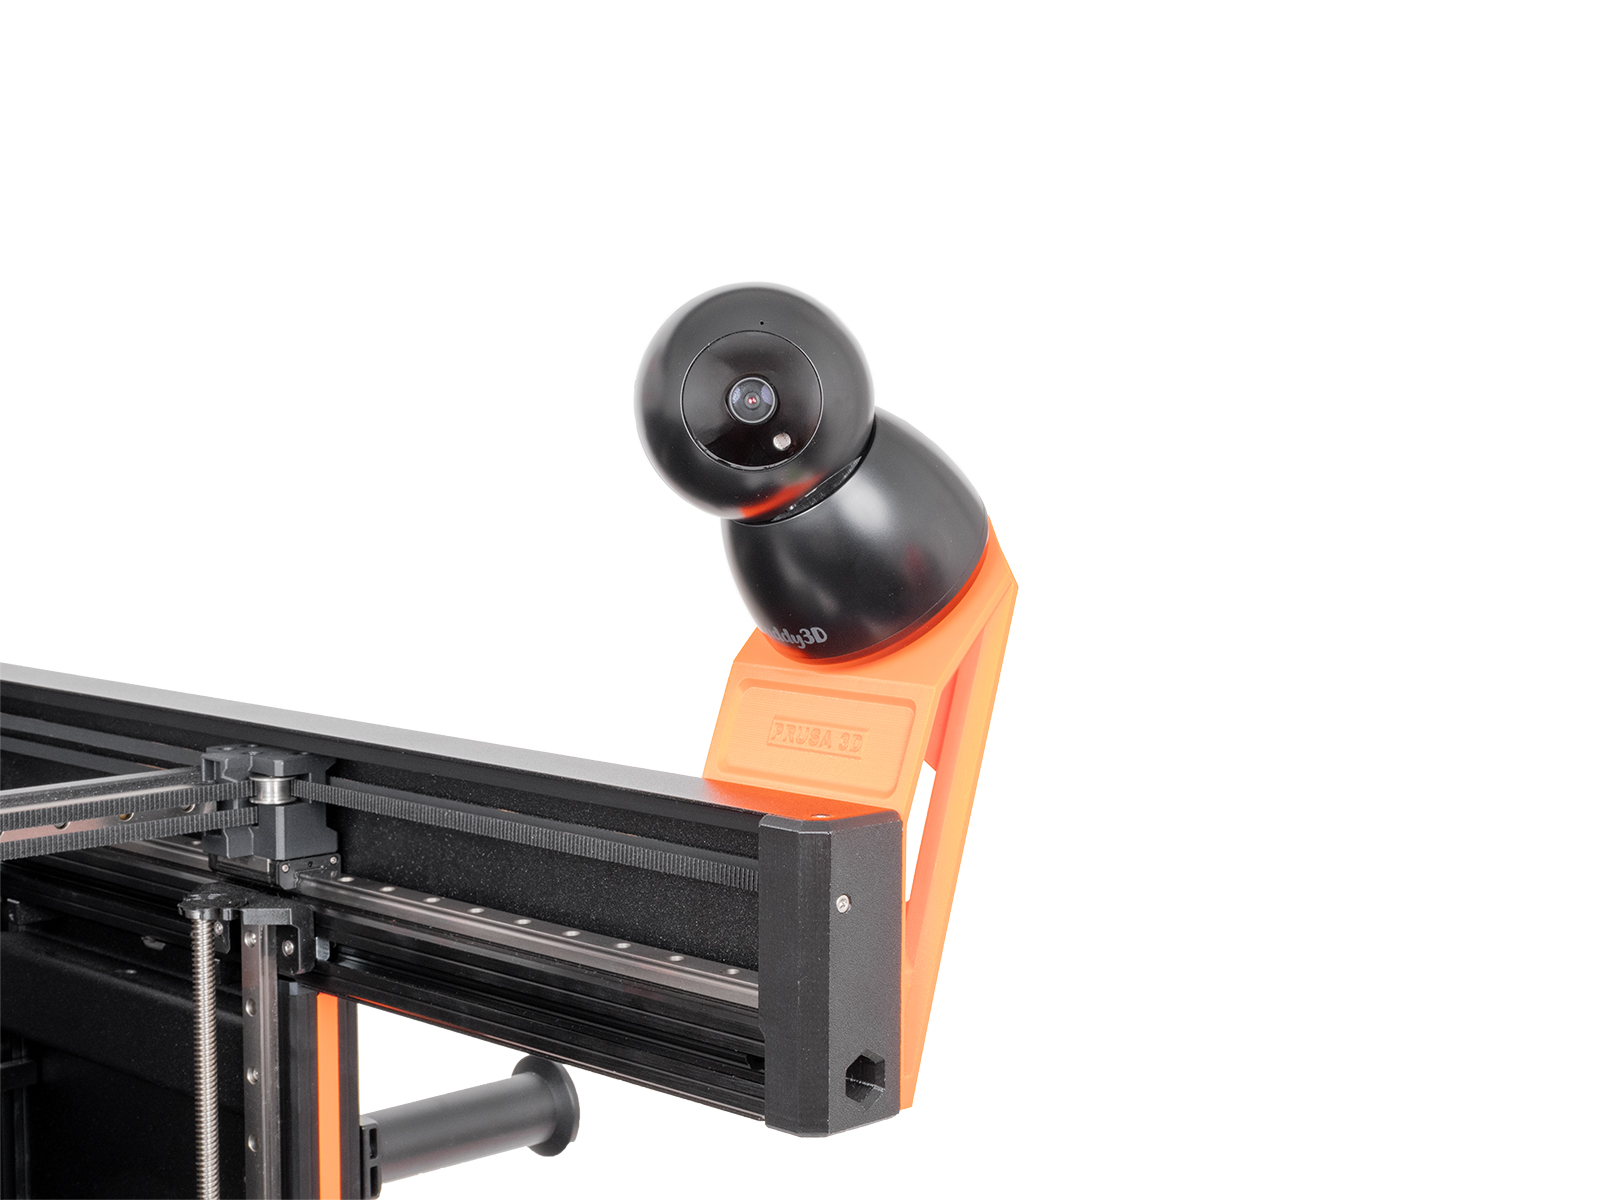
You can find the printable mount here.
Device: Guardian PR1
Resolution: 1920x1080
Input: 5 VDC, 1 A
Frequency band: 2.4 GHz
Connectivity: Wi-Fi 2.4 GHz
- If the Camera connects to the network but does not send the image to the interface, check the Wi-Fi signal strength and the camera's location. Check also if the WiFi network name (SSID) and Password are correct. The fields are case-sensitive.
- Make sure your router operates on the 2.4 GHz frequency band.
- Try resetting the camera by pressing the Reset button for 4 seconds. Remove any Cameras from the "Camera" Tab in Connect, and start the process again.