If you are using PrusaSlicer for the first time to generate a gcode or bgcode for printing, you can follow the steps below.
Click on the links to get more information about the available features.
Model import
First, you have to import your model. You can either drag and drop it directly to the PrusaSlicer window, use the Add button in the top toolbar, or choose File - Import.
Supported 3D formats are STL, STEP, 3MF, OBJ, and AMF.
Your model may be oriented incorrectly after import. If that’s the case you can use the Rotate tool R to manually adjust to the object’s orientation. When you pick a rotation axis, you can use the short guidelines to rotate by 5-degree increments or the long guidelines, which snap to 45-degree increments.
Alternatively, you can use the Place on Face tool. When you select it, several white planes will appear on your model. Clicking on the white plane will align it with the virtual print bed.
Selecting printer
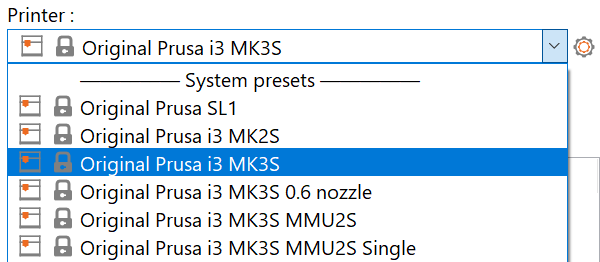
If you only selected one printer and nozzle size in the Configuration Wizard, you already have the correct printer selected. If you choose to import multiple printer profiles, select the one you wish to use from the drop-down menu in the right panel.
Selecting material
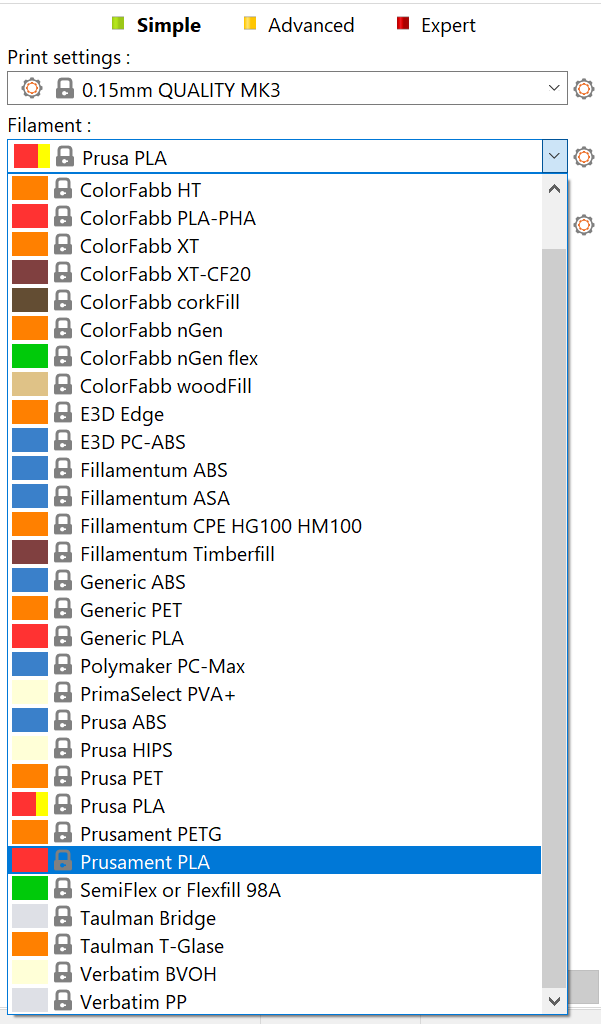
Different materials require different print temperatures, print speed, cooling, and a variety of other settings. Luckily, PrusaSlicer comes with presets for many different materials, so you just have to select one from the drop-down menu in the right panel.
Selecting a print profile/layer height
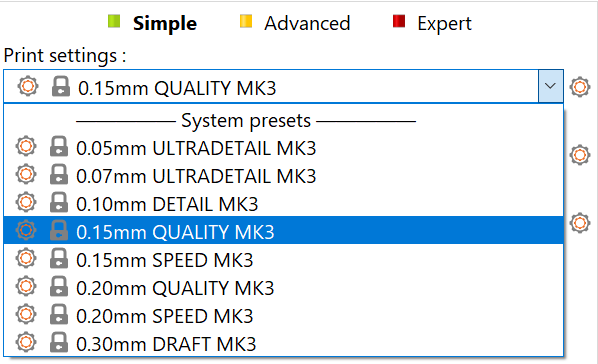
By adjusting the height of the individual printed layers you can balance the print quality and the print time. PrusaSlicer has various print profiles to select from. To start we suggest using 0.15 or 0.2 mm layers as they offer very good print quality at reasonable print times.
Because each layer rests on top of the previous one, it may be necessary to print a support structure underneath parts, that would otherwise be printed in mid-air. Additionally, it’s difficult for the printer to reproduce very steep overhangs. PrusaSlicer can detect where to place supports and generate them automatically. To turn supports on pick either Supports: Everywhere or Supports: On build plate only from the drop-down menu in the right panel.
A model that needs supports (left), a model with generated supports (right)
Objects are typically not printed solid, but not hollow either. A sparse infill pattern is used to fill the inside of the model. The main purpose of the infill is to provide an internal support structure for top layers, as well as to improve the mechanical properties of the print. On the other hand, we usually want to get away with as little infill as possible to reduce both print times and material consumption.
The amount of infill can be adjusted in the right panel. Generally, values around 15% work well.
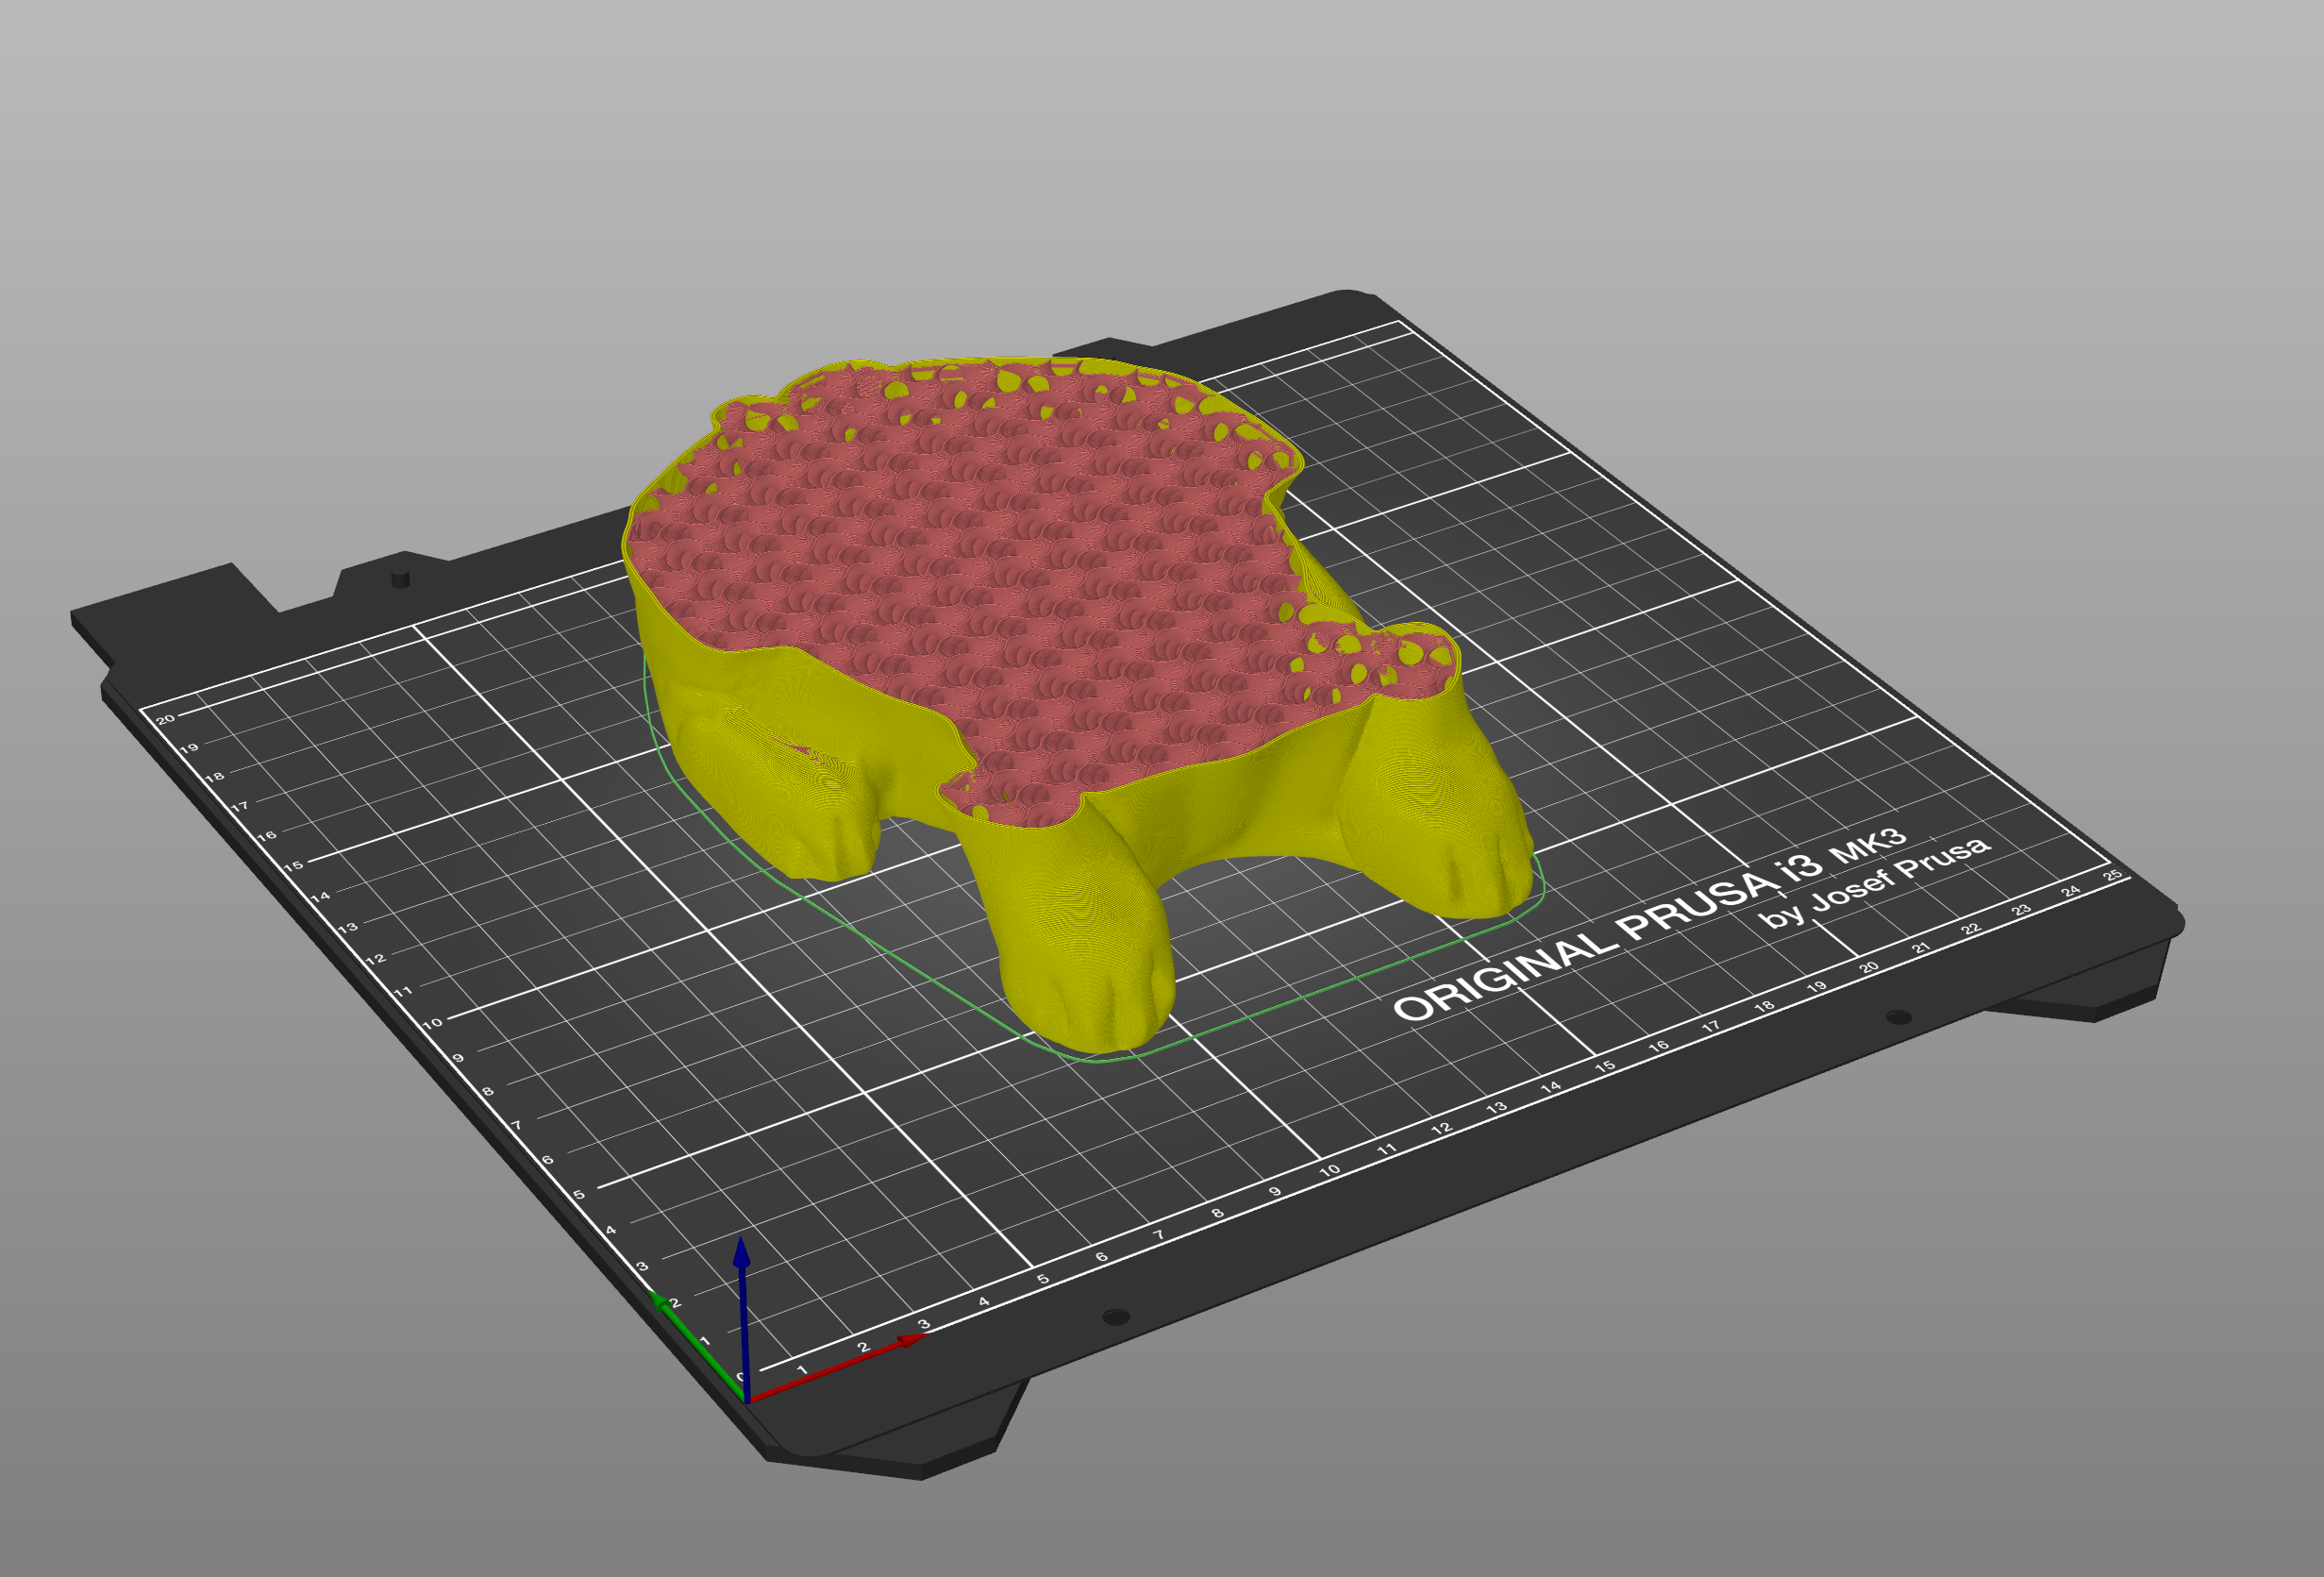
A brim is used to increase adhesion to the print bed and decrease the possibility of warping. This is done by printing extra outlines of the first layer and it’s especially useful when the footprint of the first layer is very small. You can turn it on with a checkbox in the right panel. When the print is finished, it’s usually very easy to remove the brim by hand.
Previewing G-code before print
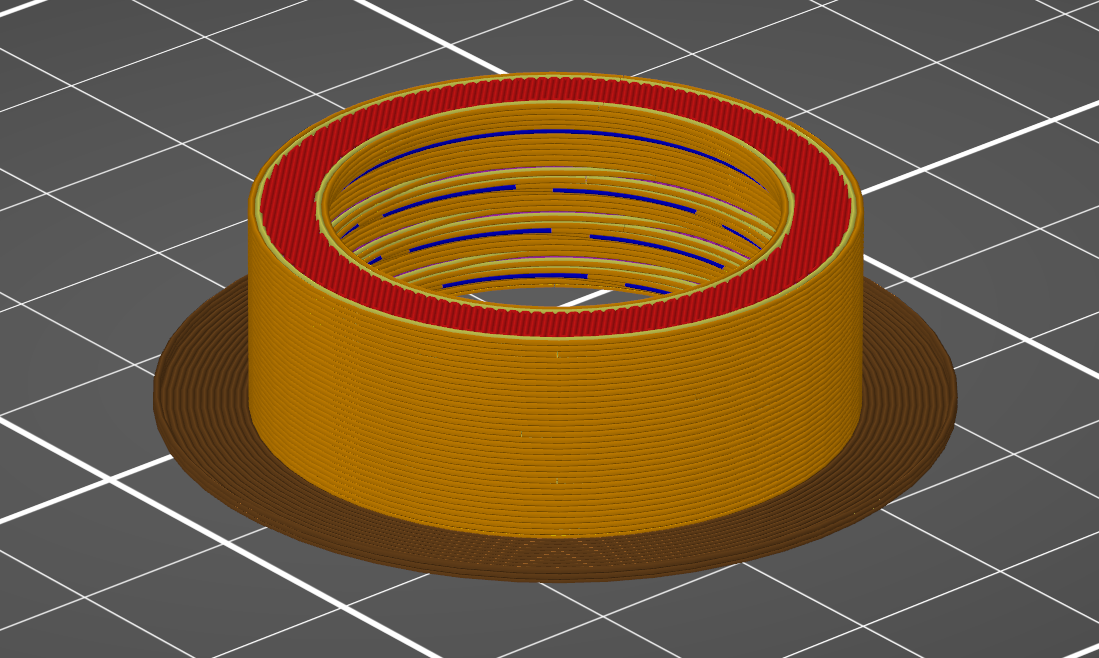
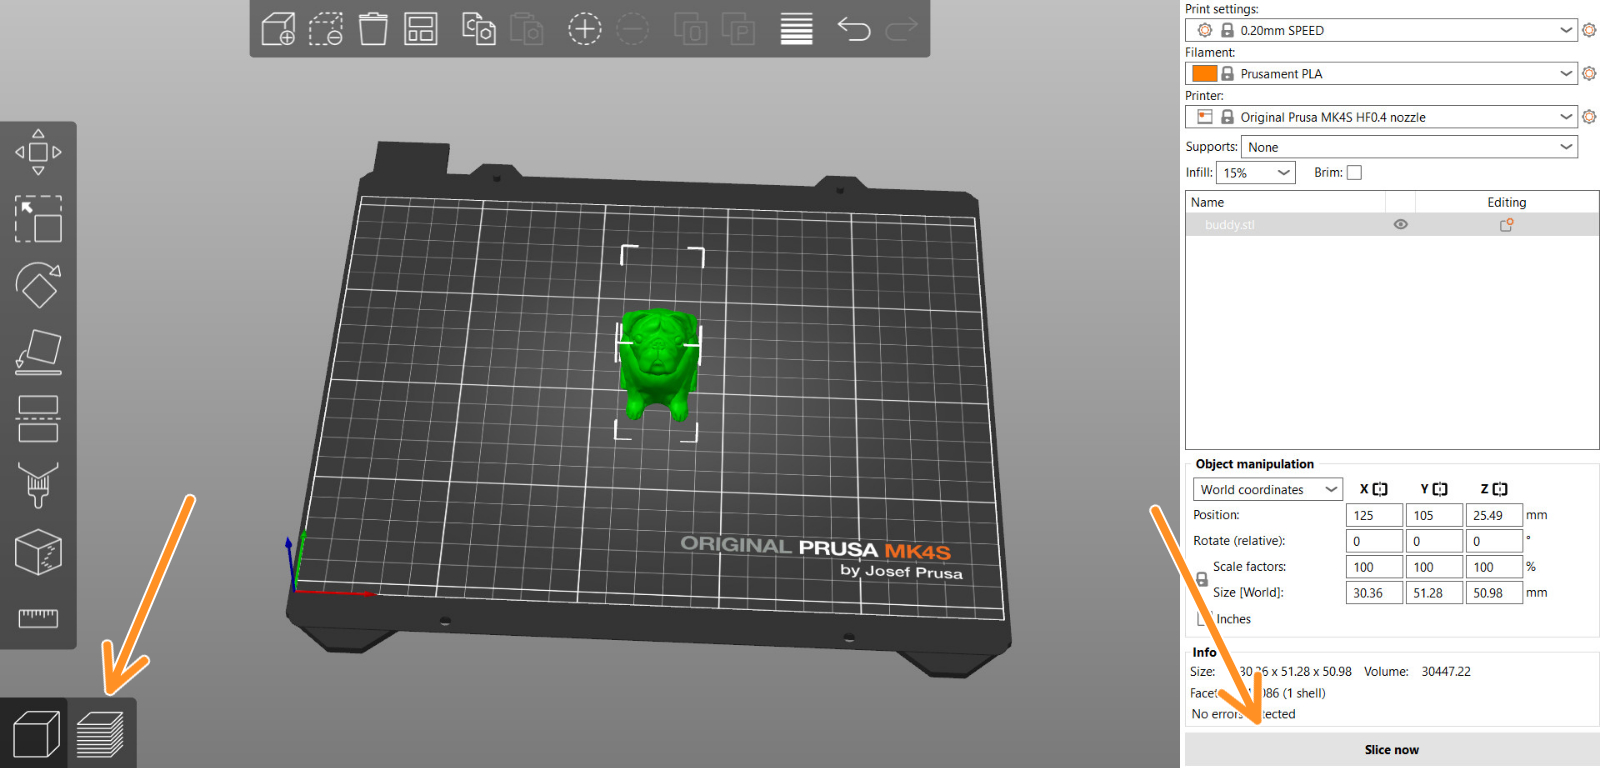
It’s a good practice to always preview the G-code before printing it. When you click the "Slice now" button, you’ll be automatically switched to the preview mode. Alternatively, you can use the switch between 3D view and preview mode in the lower-left corner or press the TAB key. Using the slider on the right, you can adjust the preview and inspect individual layers. Check the overall shape of the model and make sure it matches the 3D object. Watch out for parts, that would start printing in mid-air, if you notice any, it’s necessary to turn on support generation. If everything looks alright, you can proceed and select Export G-code.
Exporting the G-code
PrusaSlicer automatically detects if you insert an SD card, USB flash drive, or other removable media.
When detected, a new Export to SD/USB drive button will appear next to the Export G-code button (bottom right corner). Clicking it will open the file save dialog with the path initialized to the SD card or USB flash drive.
If multiple SD cards or USB flash drives are detected, the file dialog is opened at the last visited removable media.
Once a G-code is exported to a removable media, an Eject button is shown on the bottom right of the plater, which will safely disconnect your device.
 |  |
5 comments
Yes, you can build bigger models from smaller ones. Right click an existing model and choose Add part or rearrange models in the scene list on the right side.
There is no specific preset for clear filament, or and specific color for that matter. Only the brand/type of material (PLA, PETG, ASA etc.). And the color in the preview does not affect anything, but you can change it by clicking the color block next to the chosen filament on the right in the plater view. However, see our blog article for how to approach it. https://blog.prusaprinters.org/3d-printed-lens-and-other-transparent-objects_31231/
Hi! See the Print settings tab in the Slicer. Use the advanced mode and check the Speed column, for example, print move speeds are different.