When you finish building the INDX conversion kit, your CORE One+ becomes the CORE One+ INDX. You switch on the printer for the first time and run all the calibrations. They are very important on the converted printer because you build the INDX from parts, like you would build the kit version of our printers.
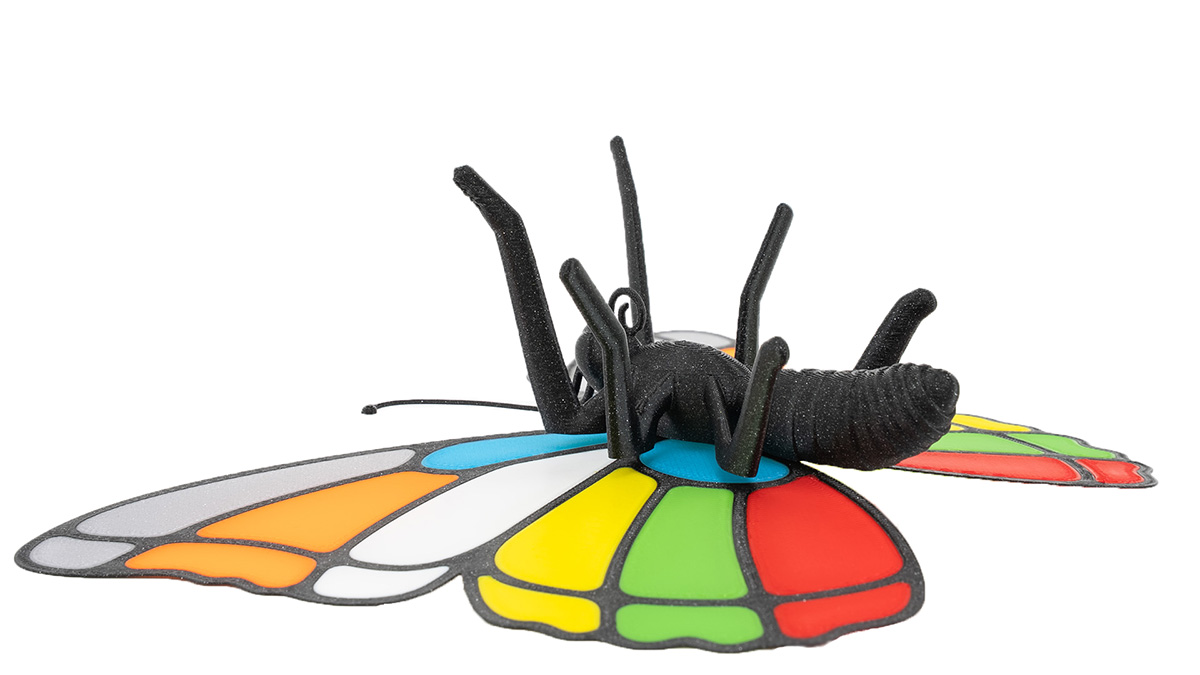
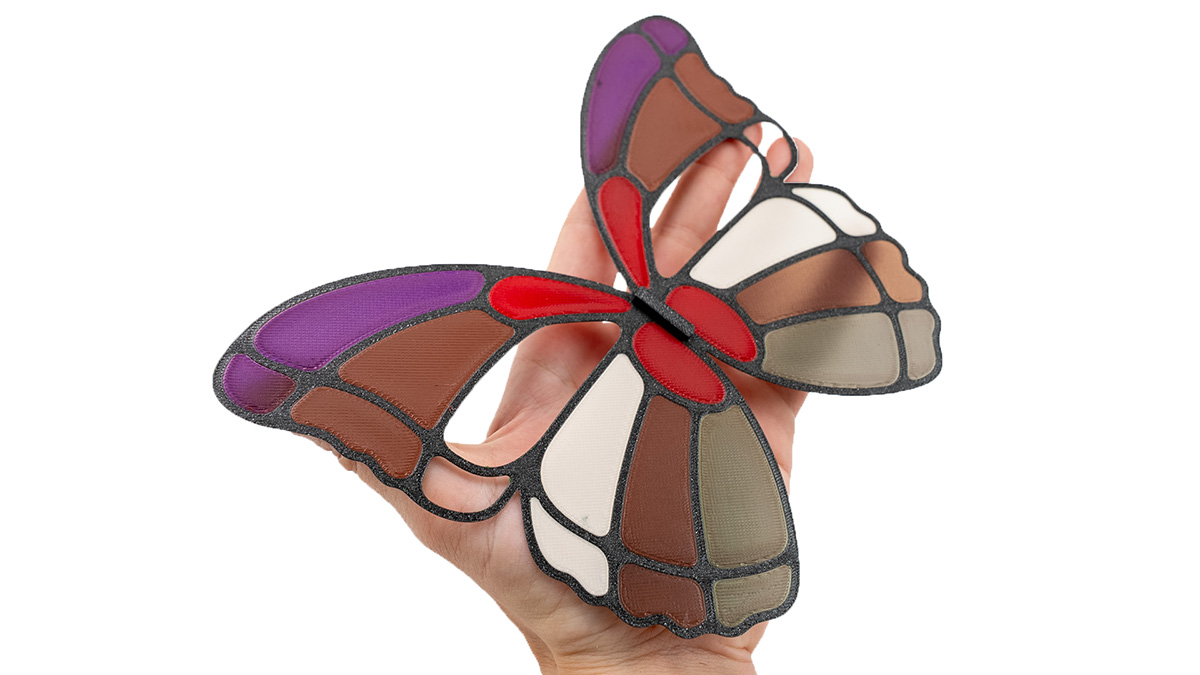
As a first print, we recommend Otto, the calibration butterfly. It takes only 1h12m on an 8-toolhead printer or 1h10m on a 4-toolhead one, and it helps you assess the quality of the calibrations.
Print the model that matches the number of tools on your printer using PLA and then inspect the following parts:
Belt tuning
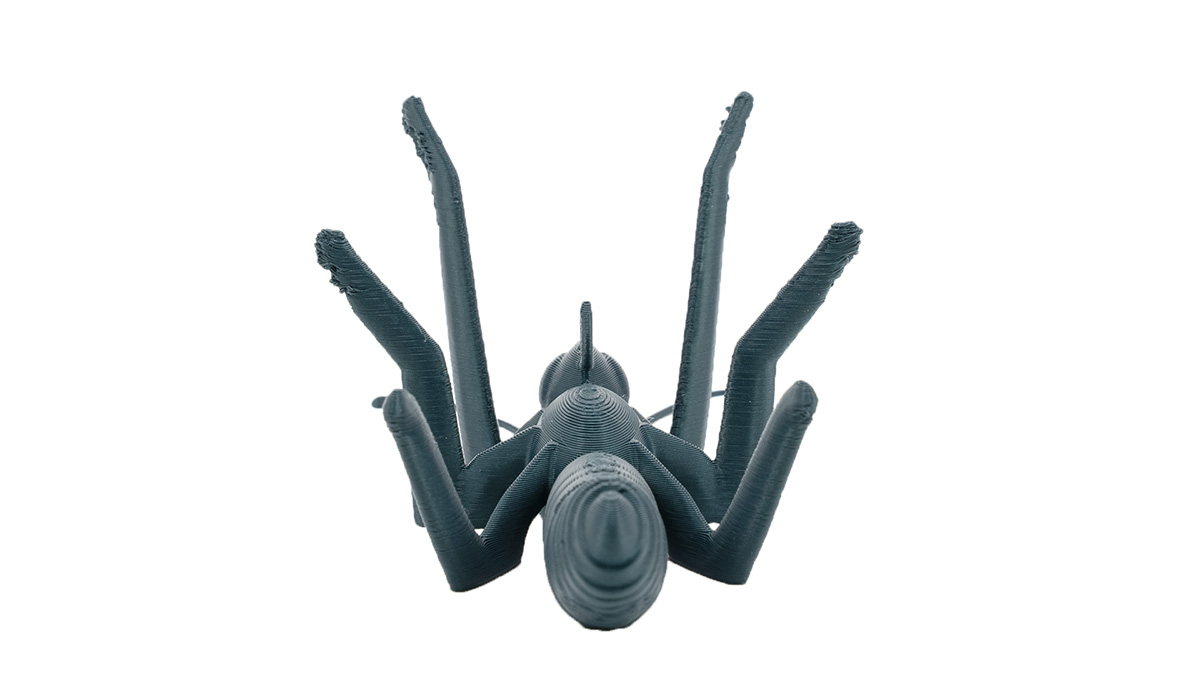
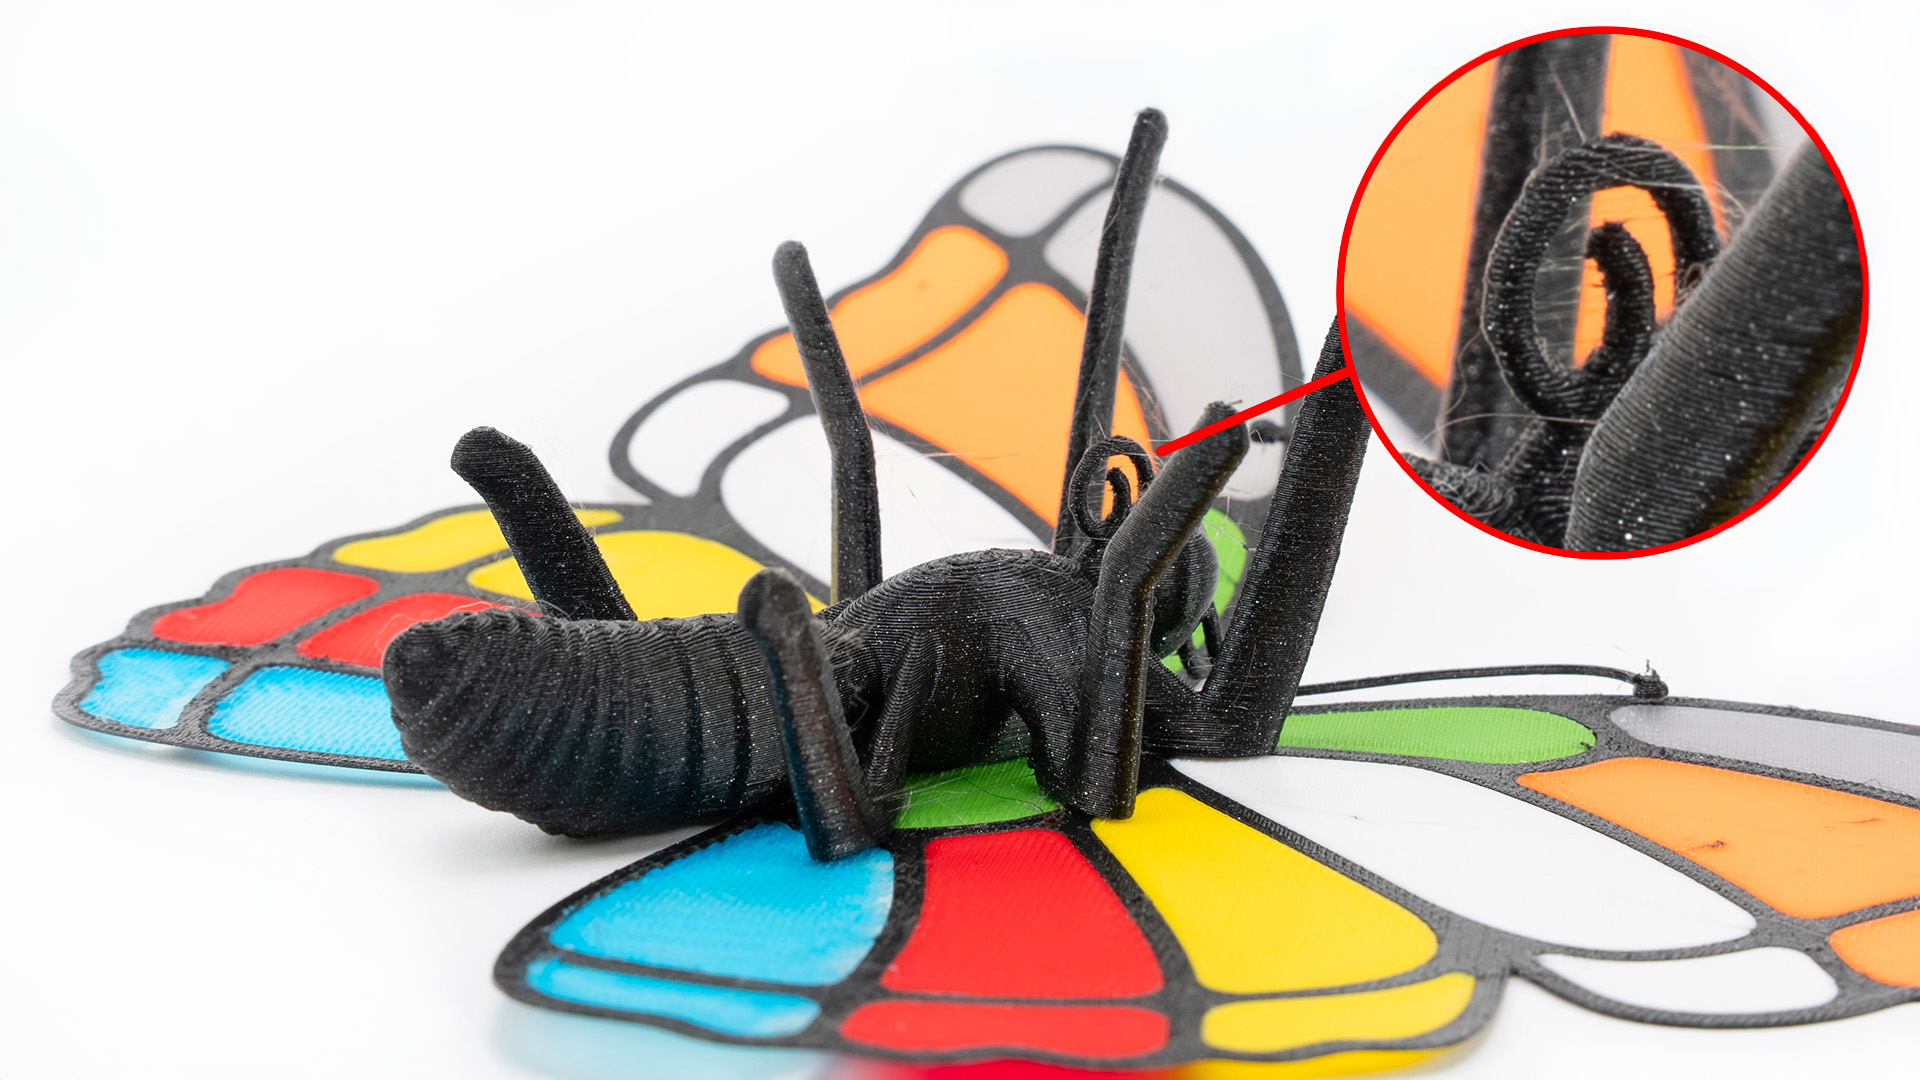
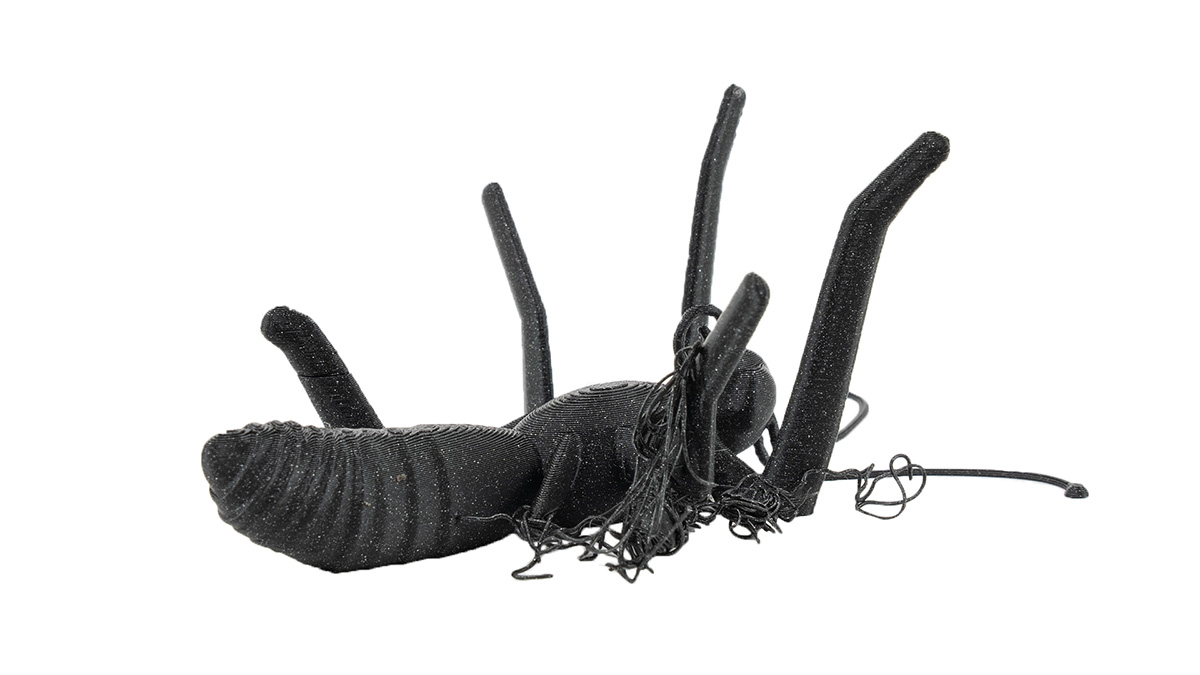
Observe the legs of the butterfly. If their ends, the ones that are the furthest from the body, look like in the pictures below, it means that the belts are not optimally tuned. A well-done belt tuning calibration is crucial for smooth printing with the INDX upgrade.
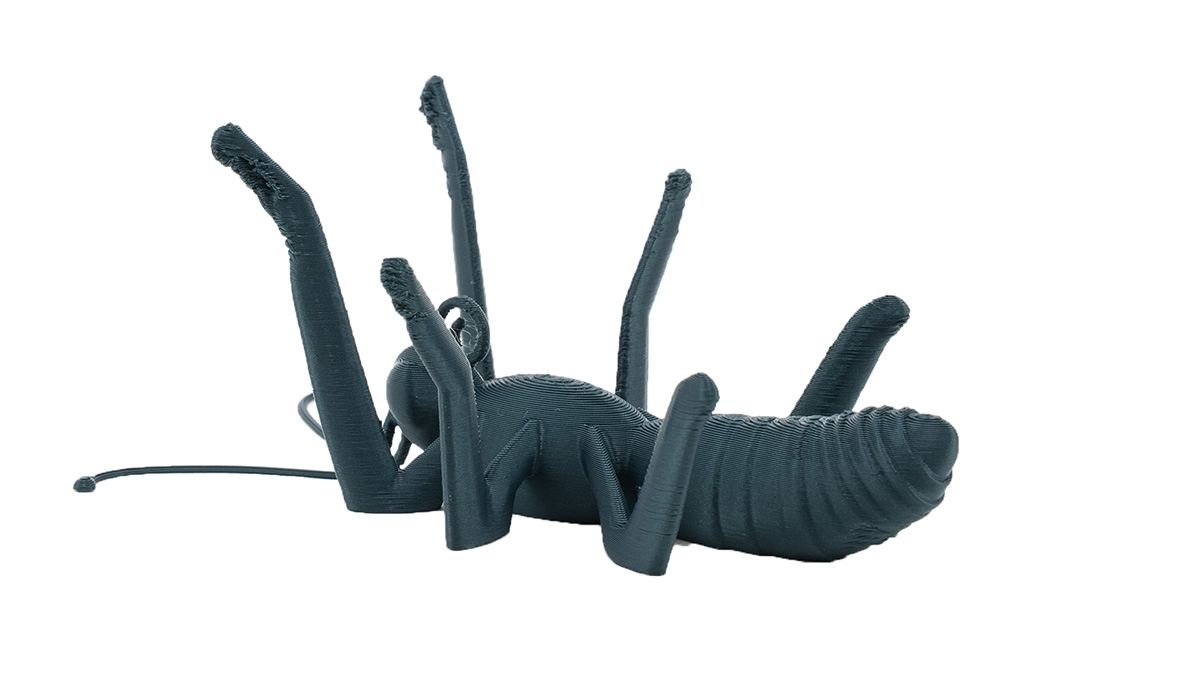
The more mistuned the belts are, the more affected are the legs. Here we see that the front ones look very bad, the middle ones are pretty bad, and even the hind legs don't have a nice surface.
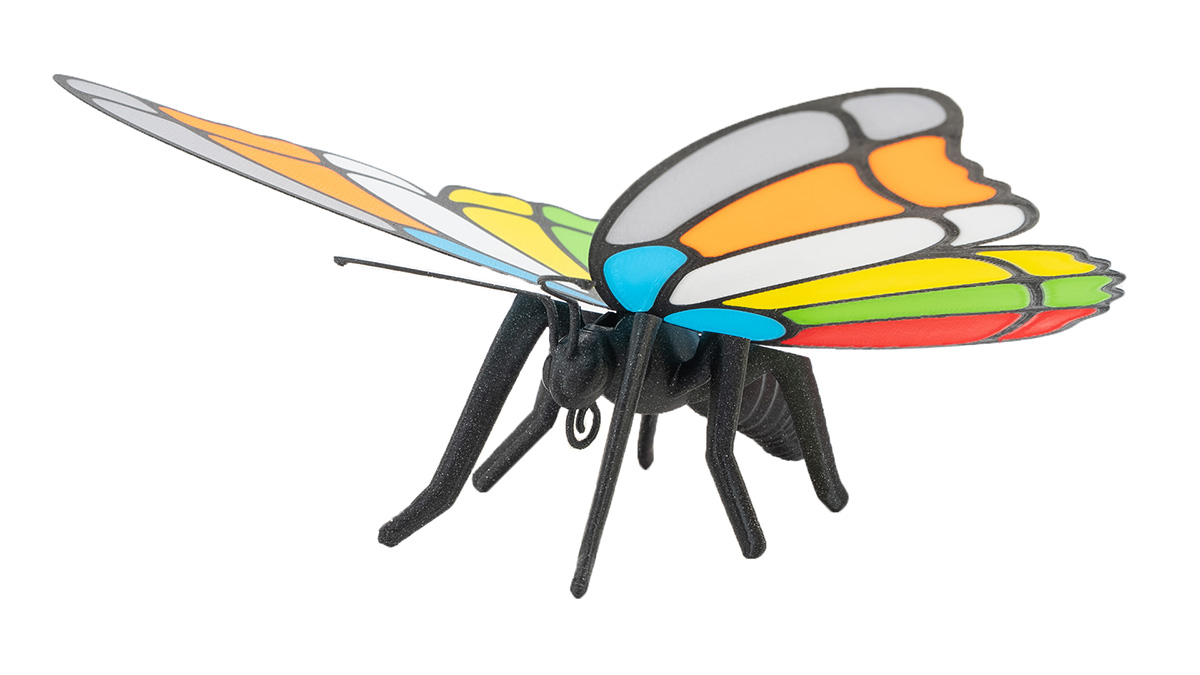
When the belts are well-tuned (picture below), you can see a slightly crumbly surface on the front legs (this is close to the limits of FFF 3D printing), but the rest is flawless.
What to do: Run the Belt tuning calibration again and ensure the squareness of the gantry. In this case, we recommend having the belts rather tight - on the higher frequency tail of the range. After changing the belt tuning, it is necessary to redo the dock calibration, homing calibration, tool offset calibration, and nozzle cleaner calibration.
Suboptimal belt tuning is the most common cause of imperfect prints on the CORE One INDX. It's often the underlying issue of other calibrations failing. On the upgraded home-built printer, it is very important to ensure the gantry squareness and fine-tuning of the belts.
First layer quality & Tool offset calibration
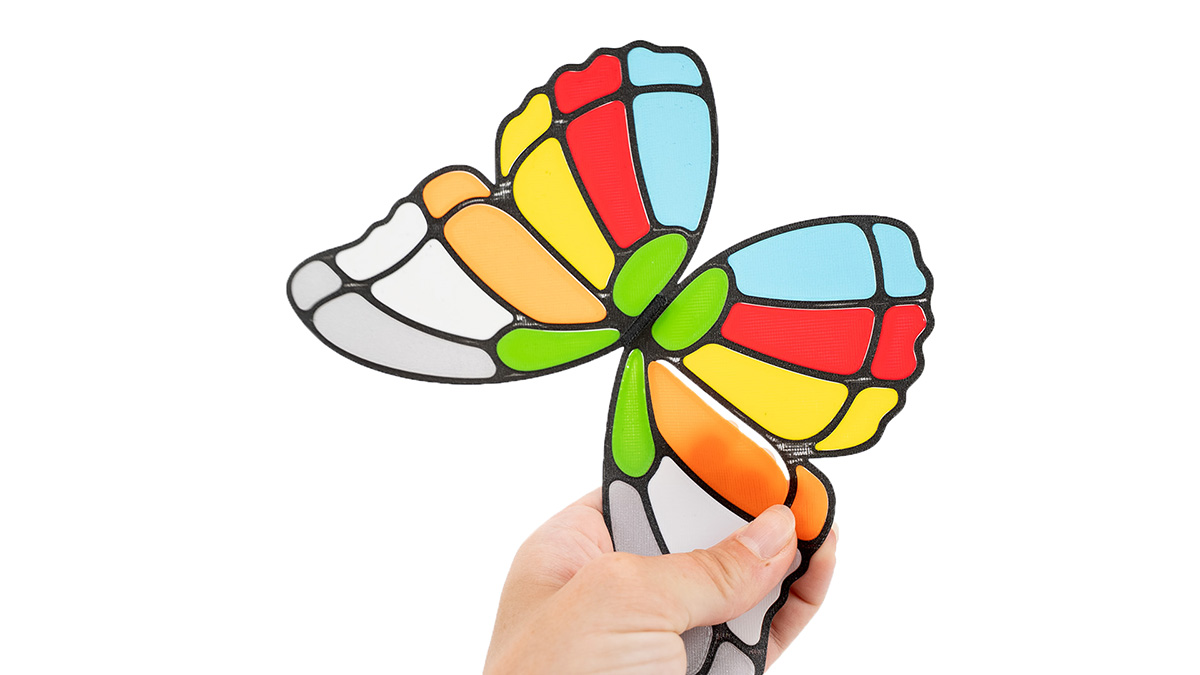
Observe the wings closely. Their surface should be without print errors on both sides. The colored part should not break out like in the pictures below.
What to do: This might happen in combination with the belt tuning issues above. When this is fixed, a re-run of homing and tool offset calibration will ensure that it's fixed.
Nozzle cleaner calibration
If you observe stringing and filament debris "baked into" the print, it can be partially caused by the nozzle cleaner calibration. However, it's also important to use dry filaments that are stored in proper conditions.
When the nozzle cleaner is optimally calibrated, it reduces the mess that can accumulate around the waste bin. It also reduces the size of the waste and, with that, increases the capacity of the waste bin.
What to do: If the belt tuning was also not okay, it is likely a result of miscalibrations of all the abovementioned steps. The step that needs special attention here is the Z-axis calibration of the nozzle cleaner. Make sure that the nozzle cleaner is not too low below the nozzle.
Sheet cleanliness
If the butterfly is missing a leg or two, it's because its joint detached during printing. The first layer of these joints is intentionally small and likely to detach if the sheet is greasy and not properly clean.

What to do: Always make sure the print sheet is properly cleaned with IPA. When printing small objects or models with small contact areas, consider using a brim.
Mechanical precision
When you print the butterfly successfully, assemble it by sliding the tab on the wings into the slot on the butterfly's back. Be careful not to break the antennae. With all of the above calibrations well-tuned, this will need a little force, the parts will fit well, and a slight play is okay.
In the future, when you print or design your own models that require mechanical precision, consider looking into the elephant foot compensation.
When you don’t find any error on the butterfly, your Prusa CORE One+ INDX is properly calibrated.