English
Login
3D printers
Materials
Parts & Accessories
Software
3D Models
Applications
Community
Help
Academy
Blog
Company
Support
Original Prusa Enclosure
Original Prusa Enclosure assembly (external display mounting) (v1.03)
5. Fire Suppression System (add-on) | Introduction
1. Introduction
Step 1 of 9 (Chapter 10 of 18)
Fullscreen mode
Contents
Comments
⬢
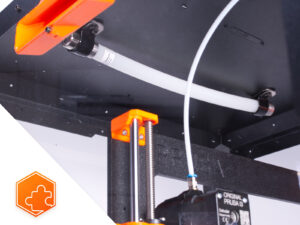
This guide will take you through the installation of the
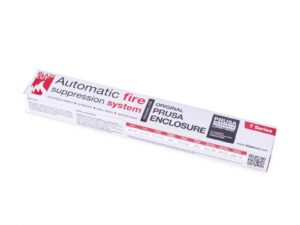
Fire Suppression System
into the
Original Prusa Enclosure
.
Loading...
Next
Contents
Original Prusa Enclosure assembly (external display mounting) (v1.03)
1. Introduction
2A. Preparing the printer (MK4/S & 3.9/S)
2B. Preparing the printer (MK3S+ Black PSU)
2C. Preparing the printer (MK3S+ Silver PSU)
3. Assembling the enclosure
4A. Installing the printer (MK4/S & 3.9/S)
4B. Installing the printer (MK3S+ Black PSU)
4C. Installing the printer (MK3S+ Silver PSU)
Manual changelog Enclosure kit
5. Fire Suppression System (add-on)
Introduction
Tools necessary for this guide
Preparing the printer
Parts preparation:
Mounting the P-clamp
Mounting the P-clamp
Installing the automatic suppression system
Securing the automatic suppression system
That's it!
6. Hinged Lid (add-on)
6A. Hinged Lid with MMU3
6B. Hinged lid with MMU2S
7. Advanced filtration system (add-on)
8. Mechanical lock (add-on)
9. Quick release PSU cable - MK3S+ Black PSU (add-on)
10. Quick release PSU cable - MK4/3.9 Black PSU (add-on)
11. White LED strip (add-on)
Comments
Log in
to post a comment
systematisch.app
•
about 1 year ago
I had a hinged lid installed, even in this case it was OK to assemble with the door closed.
Reply
VisualReversal
•
about 2 years ago
Easiest method I found was to remove the door and hold it upside down in your lap while you assemble everything.
Reply