On the Original Prusa XL, when slicing for a Multi-Tool object, the resulting G-code carries information on how individual materials and extruders are assigned, along with the specific material, to various parts of the object.
Once the G-code is selected to be started from the printer USB drive, a thumbnail of the model is shown. By clicking Continue, the Tools Mapping screen is opened, where it is possible to remap the extruders with the required material to a different one.
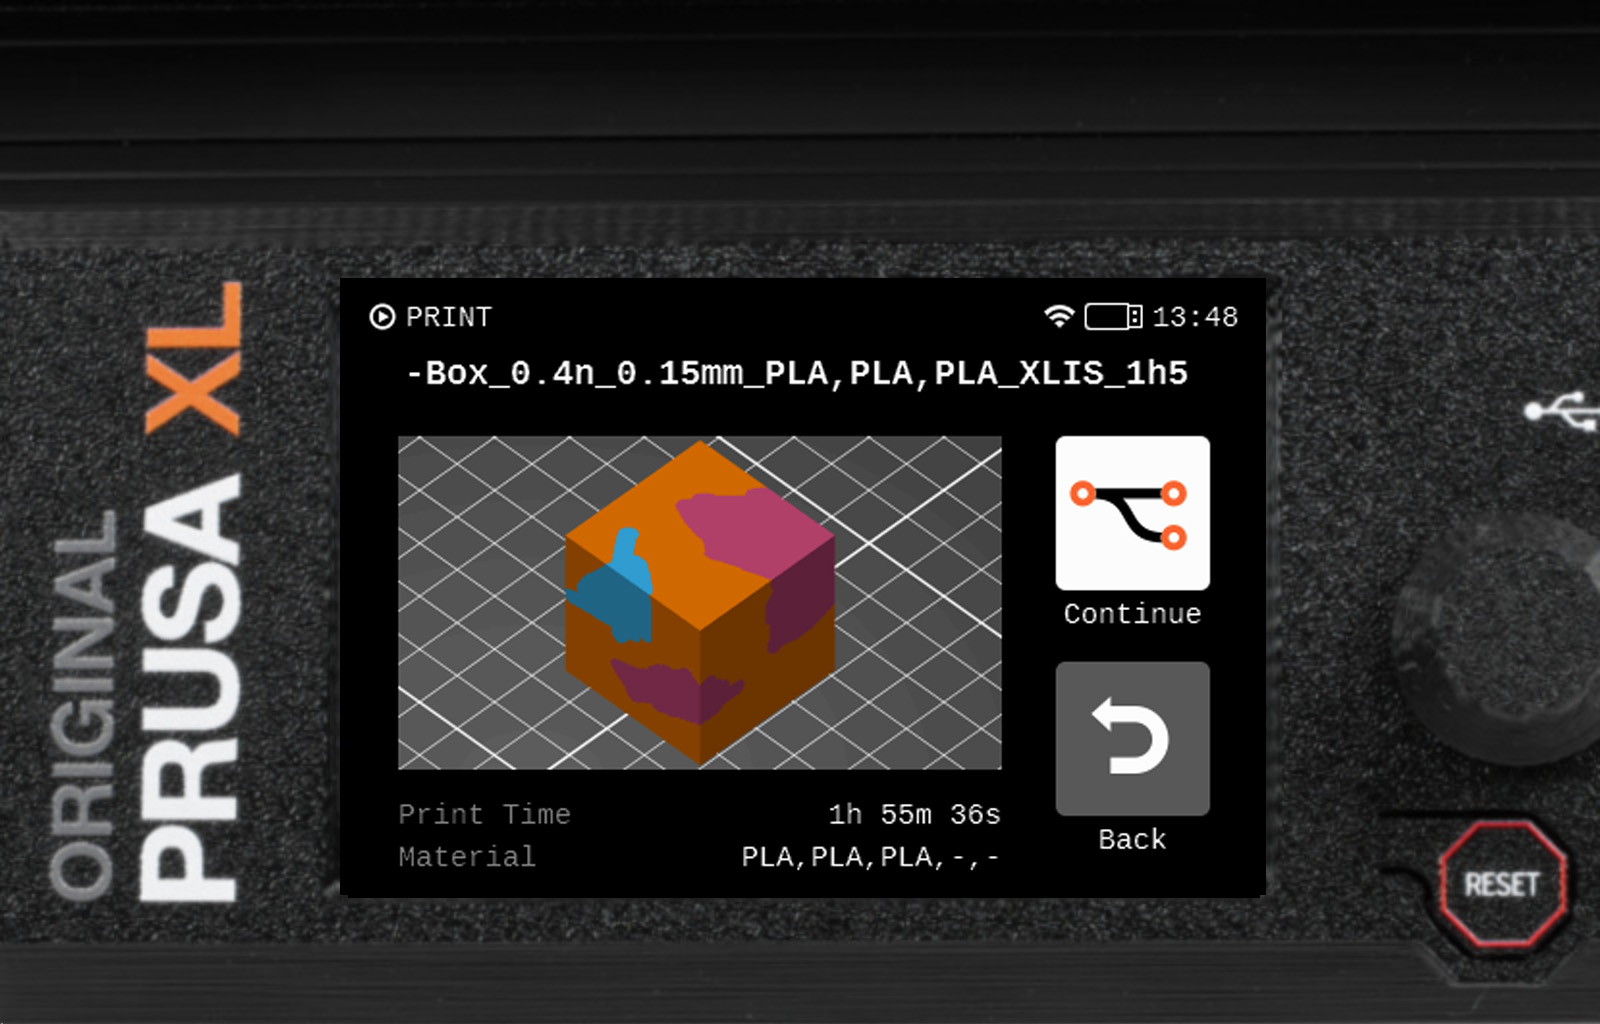 | 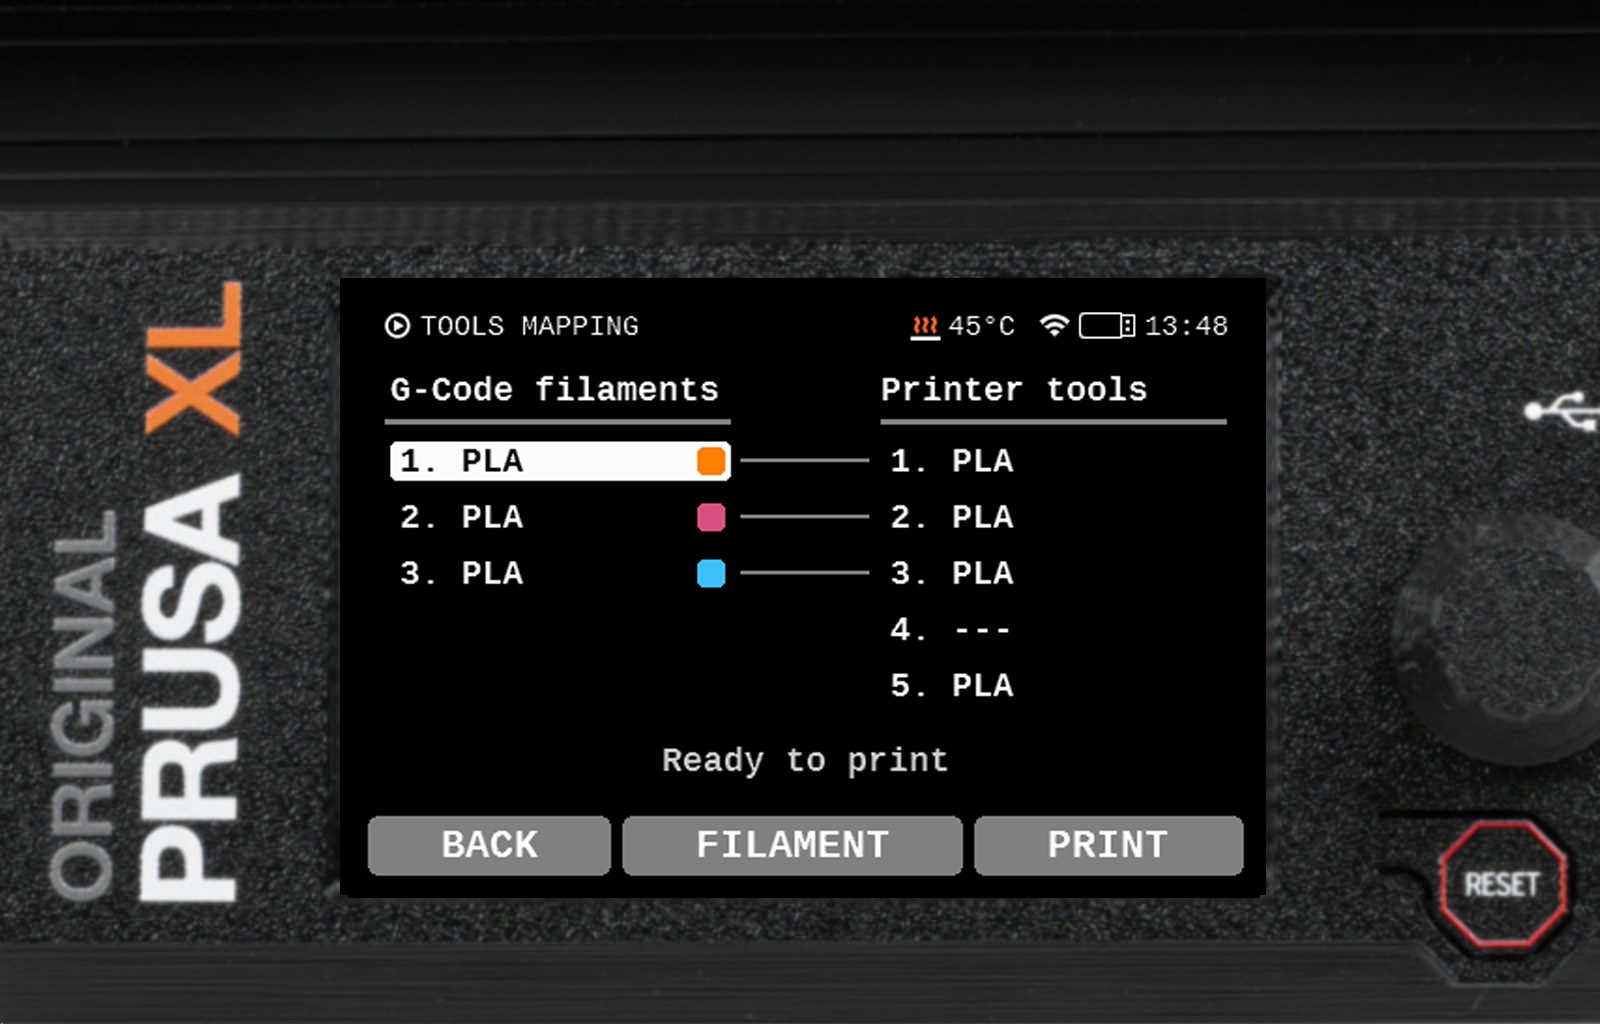 |
Assigning parts of an object to a tool
To reassign one part or multiple parts of the object to a tool, navigate to the G-code filaments column to the tool you wish to reassign, select the desired tool, then navigate to the Printer tools column to the tool that will print the part, and select it. The printer will ask if the tool should be assigned to the object part, or if the tool should be used for the spool join functionality.
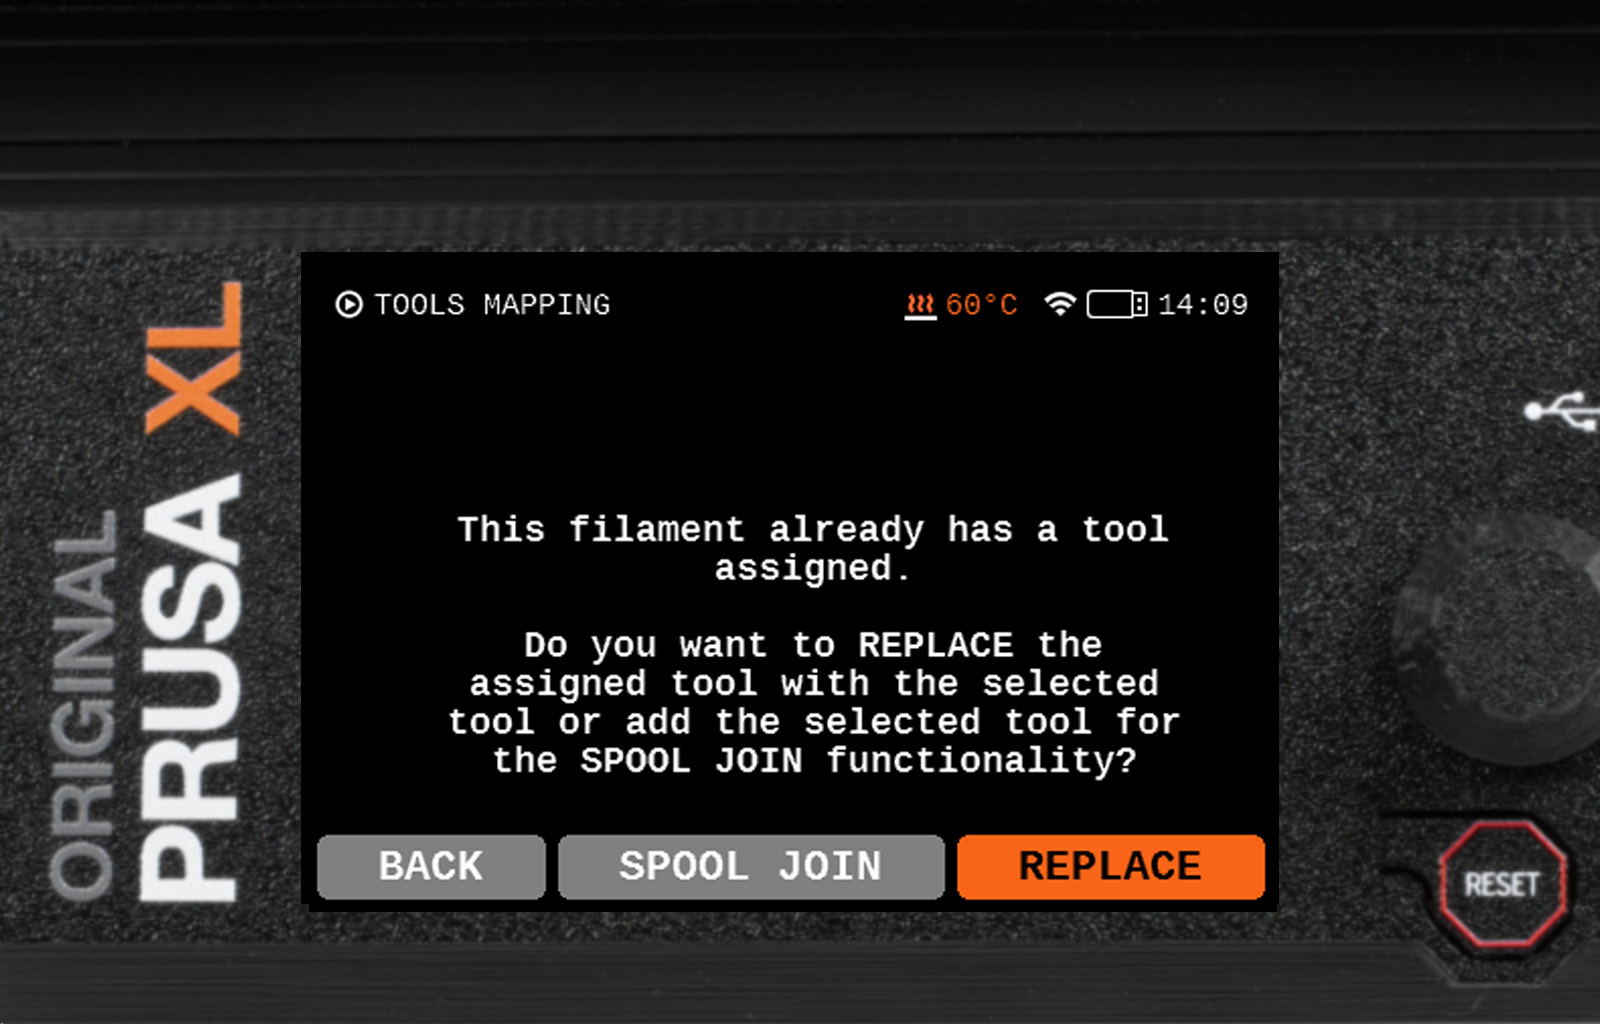
Spool join - assigning one part of an object to multiple tools
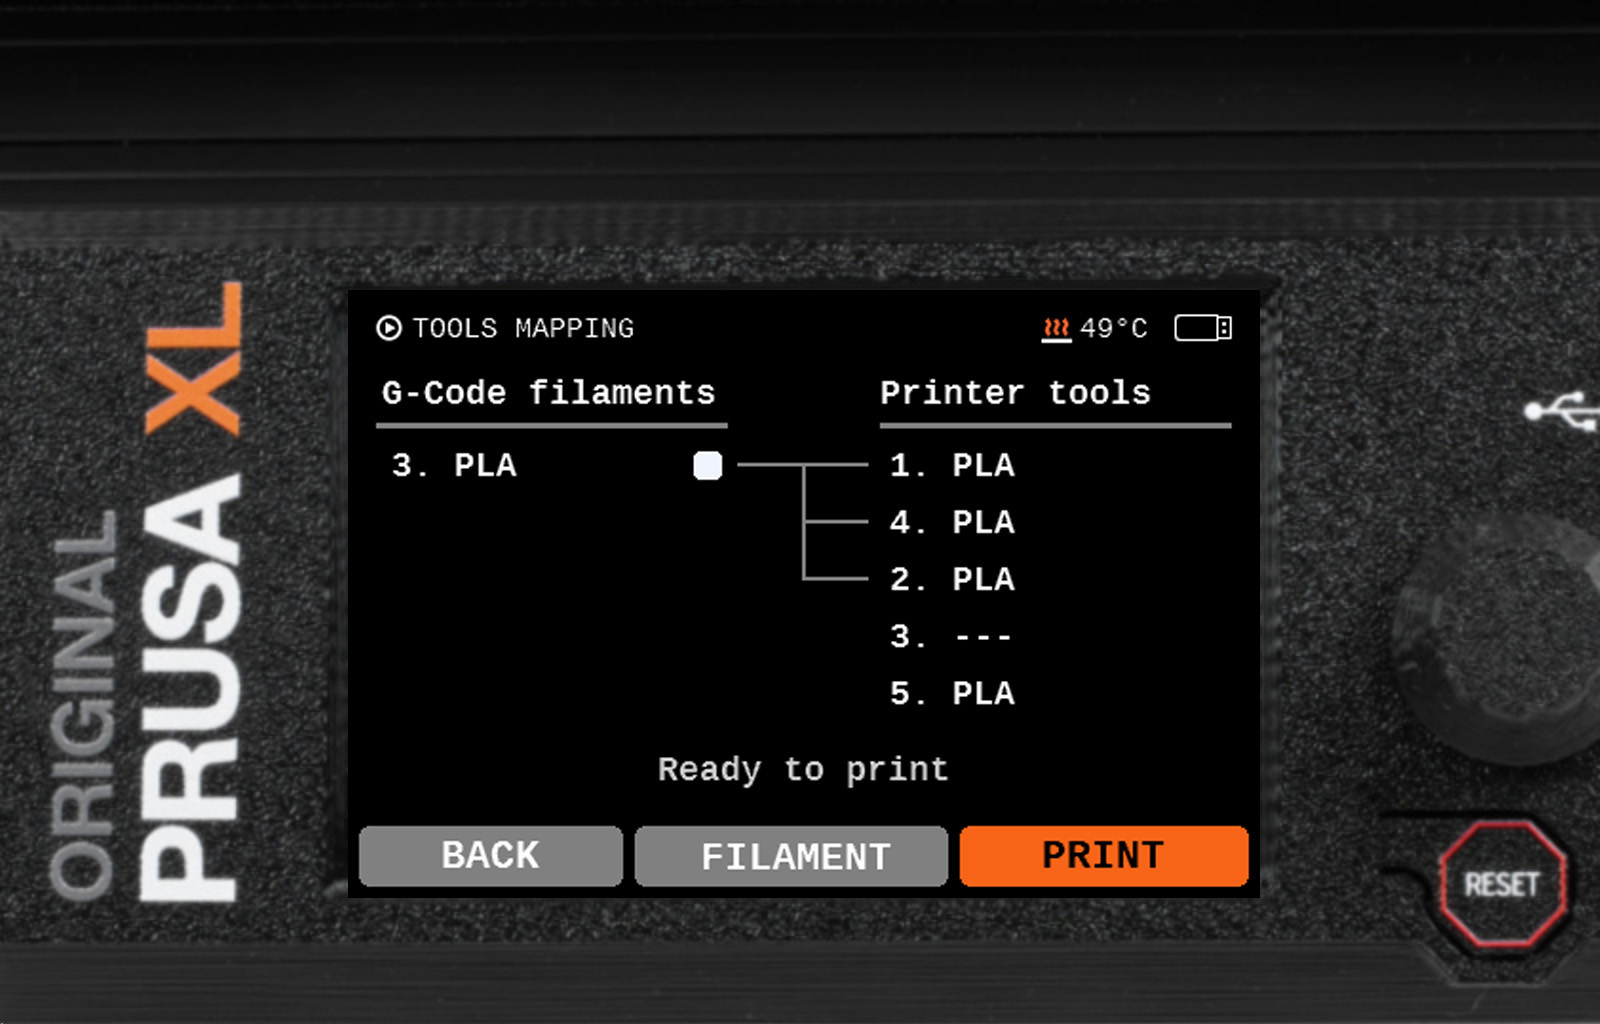
Another use of the Tools Mapping function is assigning multiple tools for one part of the object. In the screenshot below, G-code filaments 3.PLA is mapped to tools 1, 4, and 2. This way, G-code filaments 3. PLA will start printing with Tool 1. If Tool 1 runs out of filament, then Tool 4 will be used.
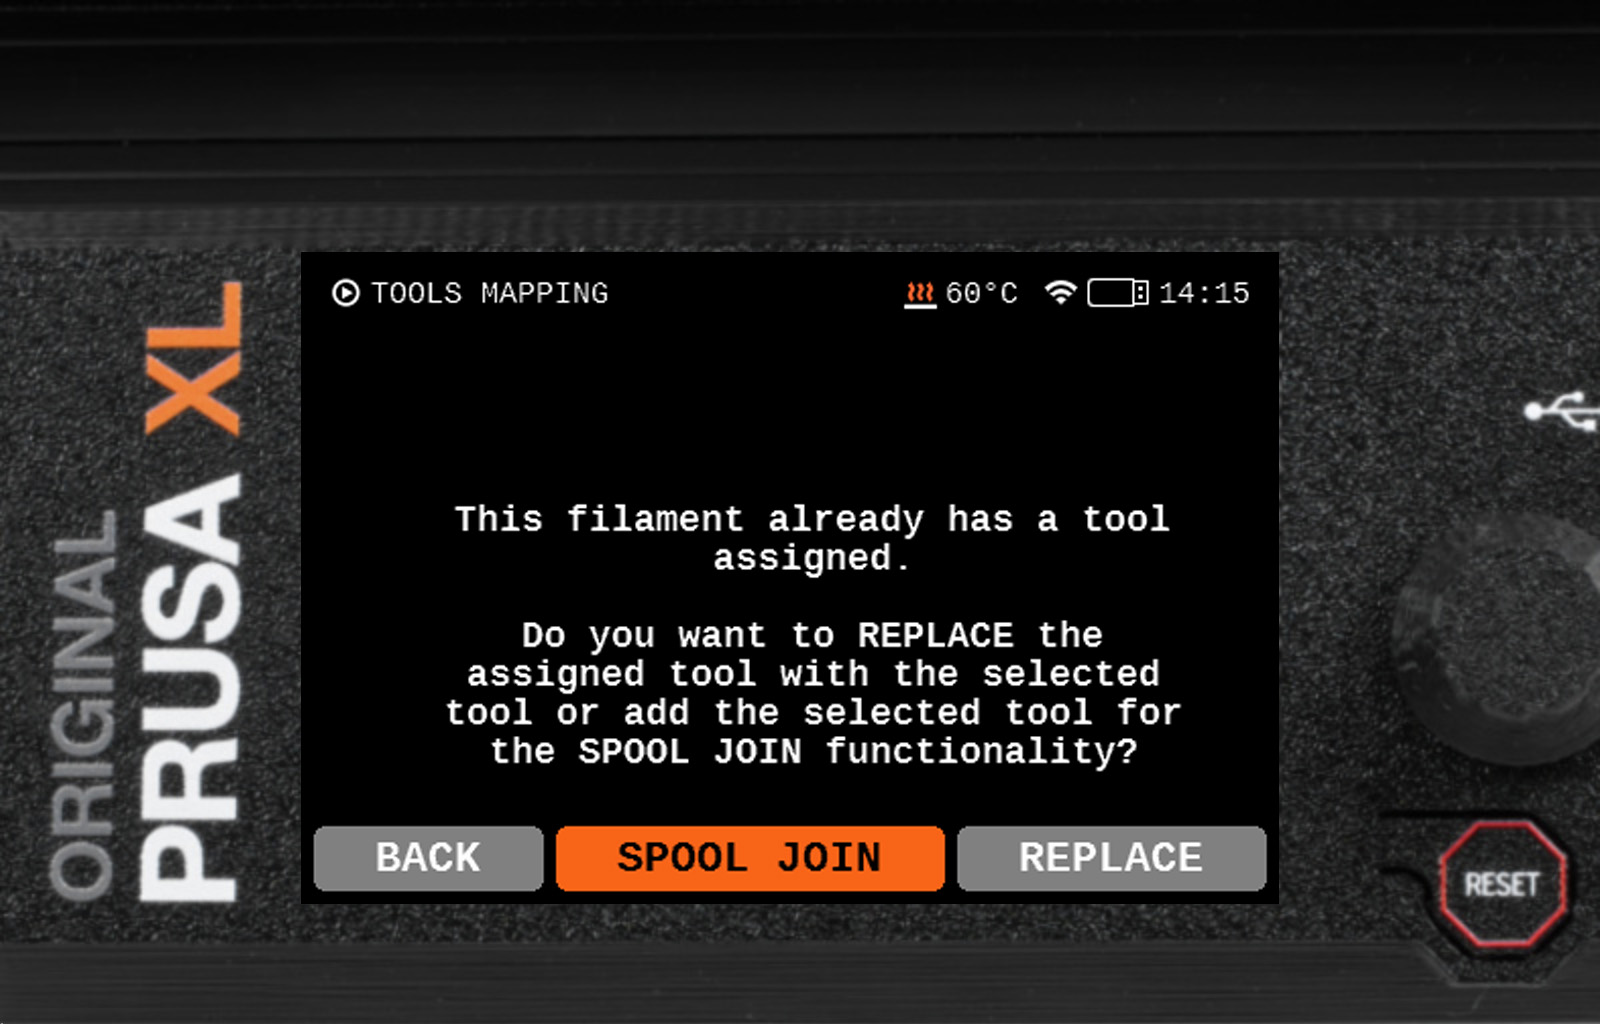 |  |
Filament submenu
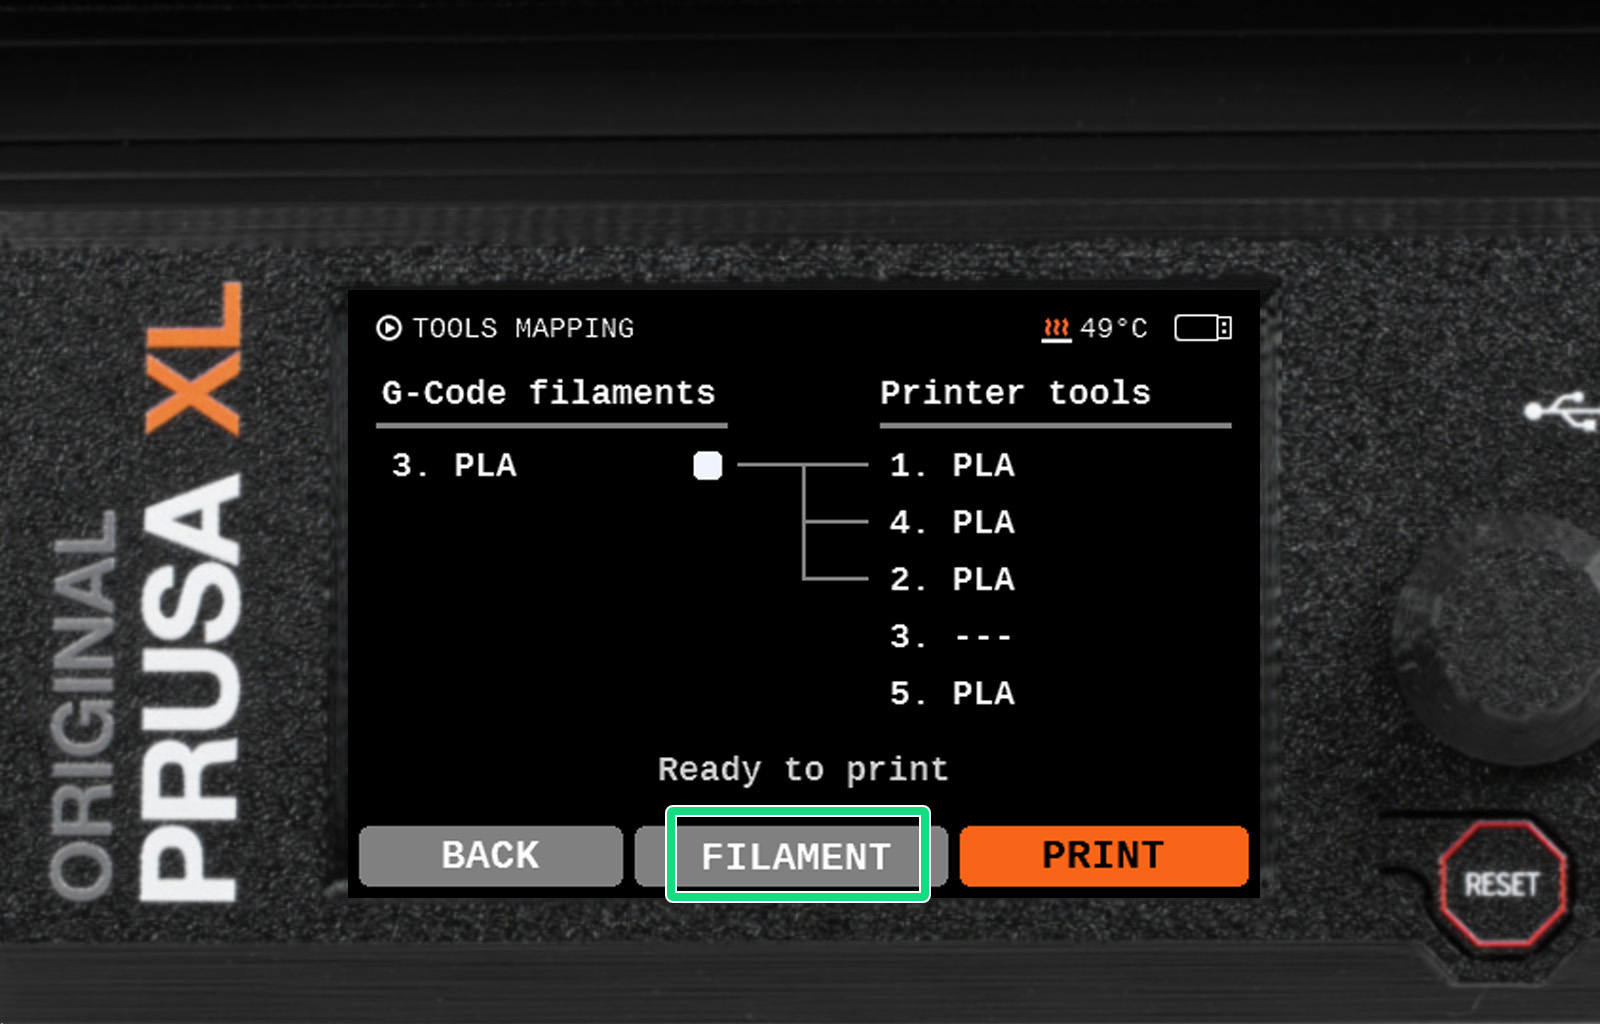
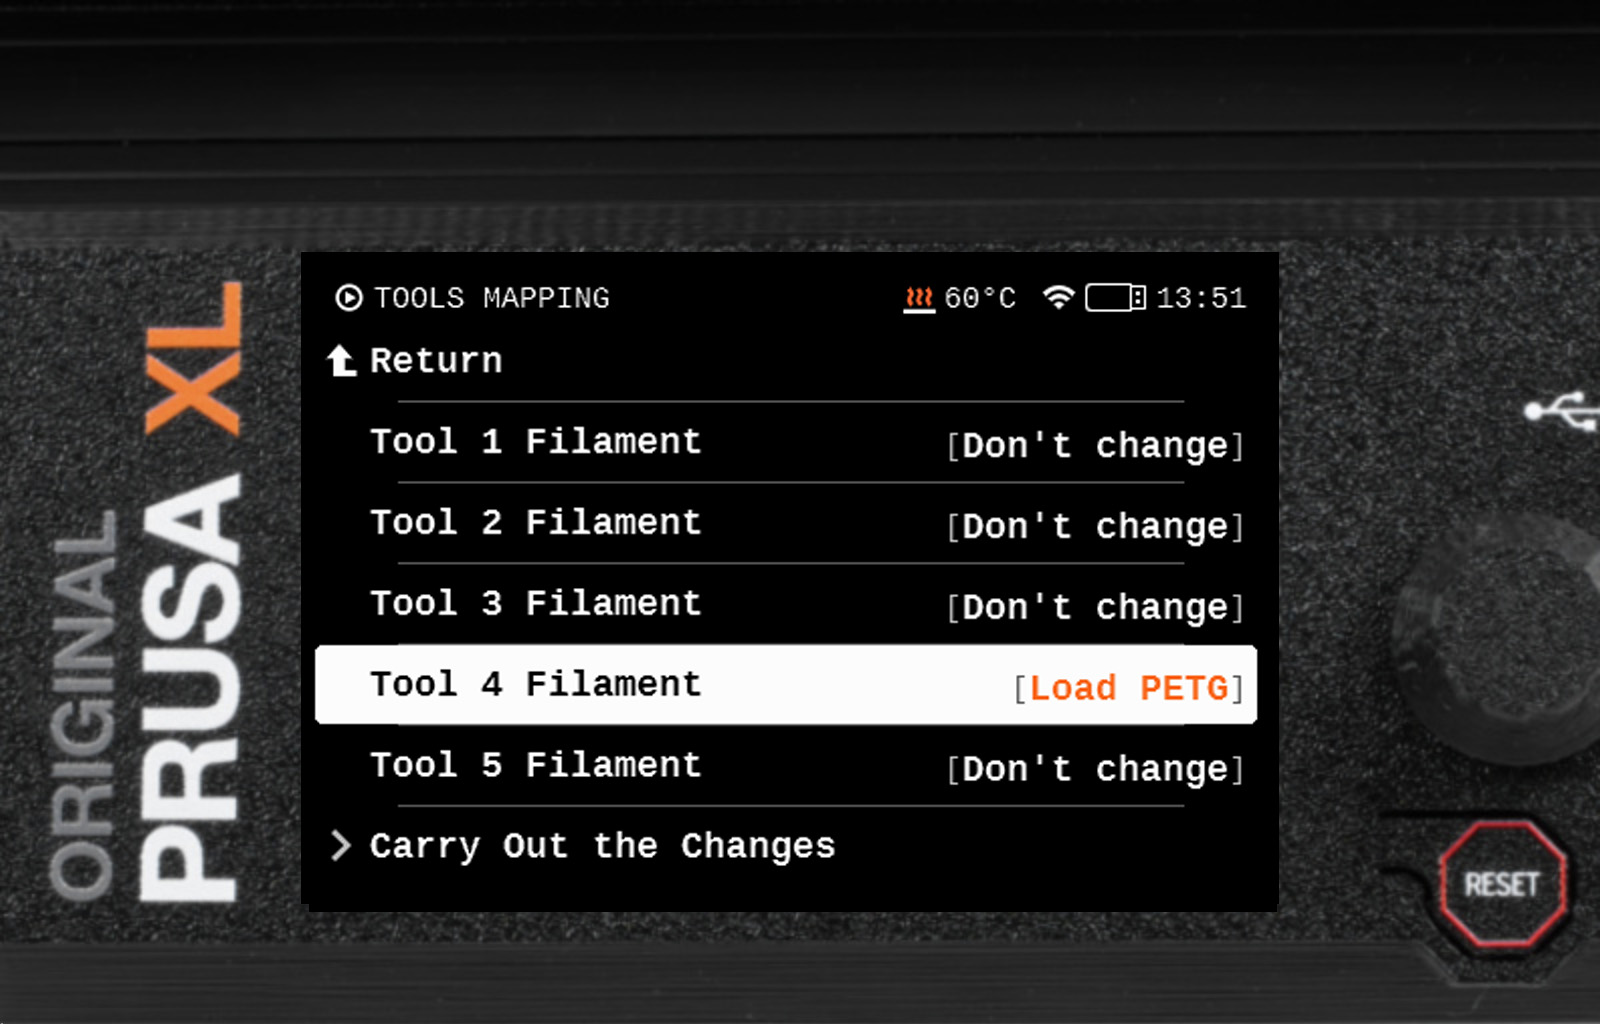
On the main Tools Mapping screen, a Filament submenu is available. Once the submenu is opened, without having to interrupt the tools mapping procedure, it will be possible to load or unload filament on each tool.
 |  |