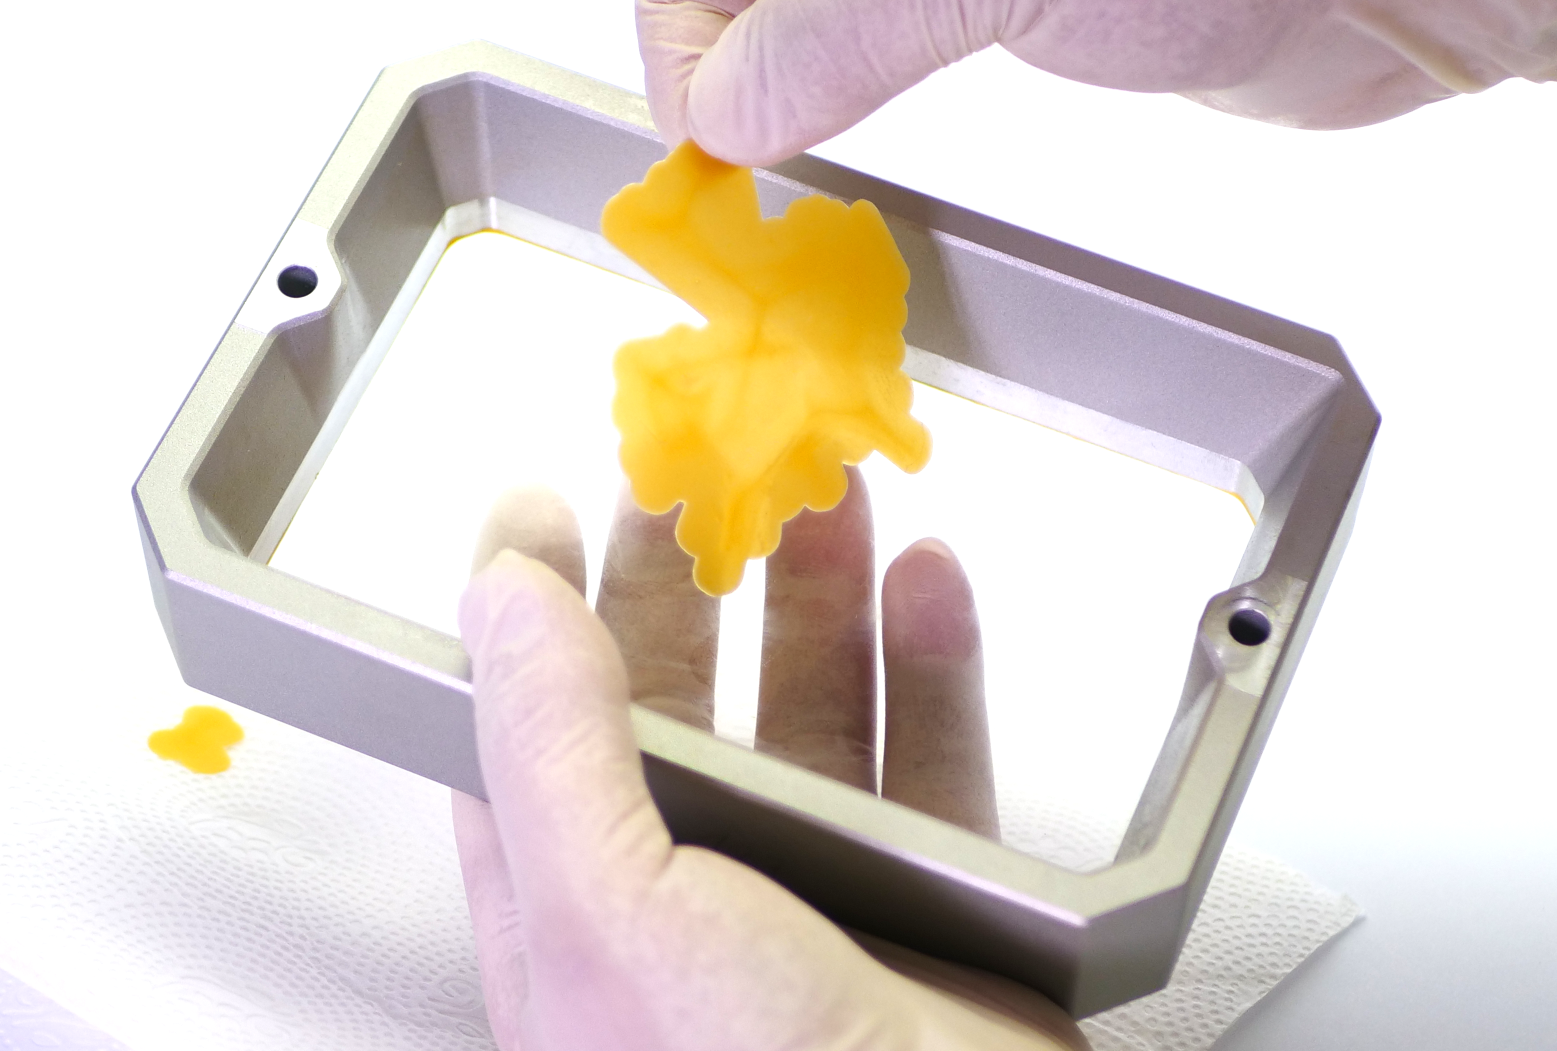
In case the first layer did not stick to the printing platform, it would remain stuck at the bottom of the tank.
No matter how big or how small the stuck layer is, here is a quick safe way that will help you remove it from the FEP film, without damaging it:
- Unscrew the resin tank screws and remove the tank
- Take an empty bottle and insert the bundled funnel/filter in it
- One of the tank corners has a different shape, use it to pour the resin from the tank into the bottle. Always pour used resin into a new bottle; don’t mix it with unused liquid – especially if the print failed.
- Wipe the tank with a soft paper cloth. The layer that got stuck should be now fully visible
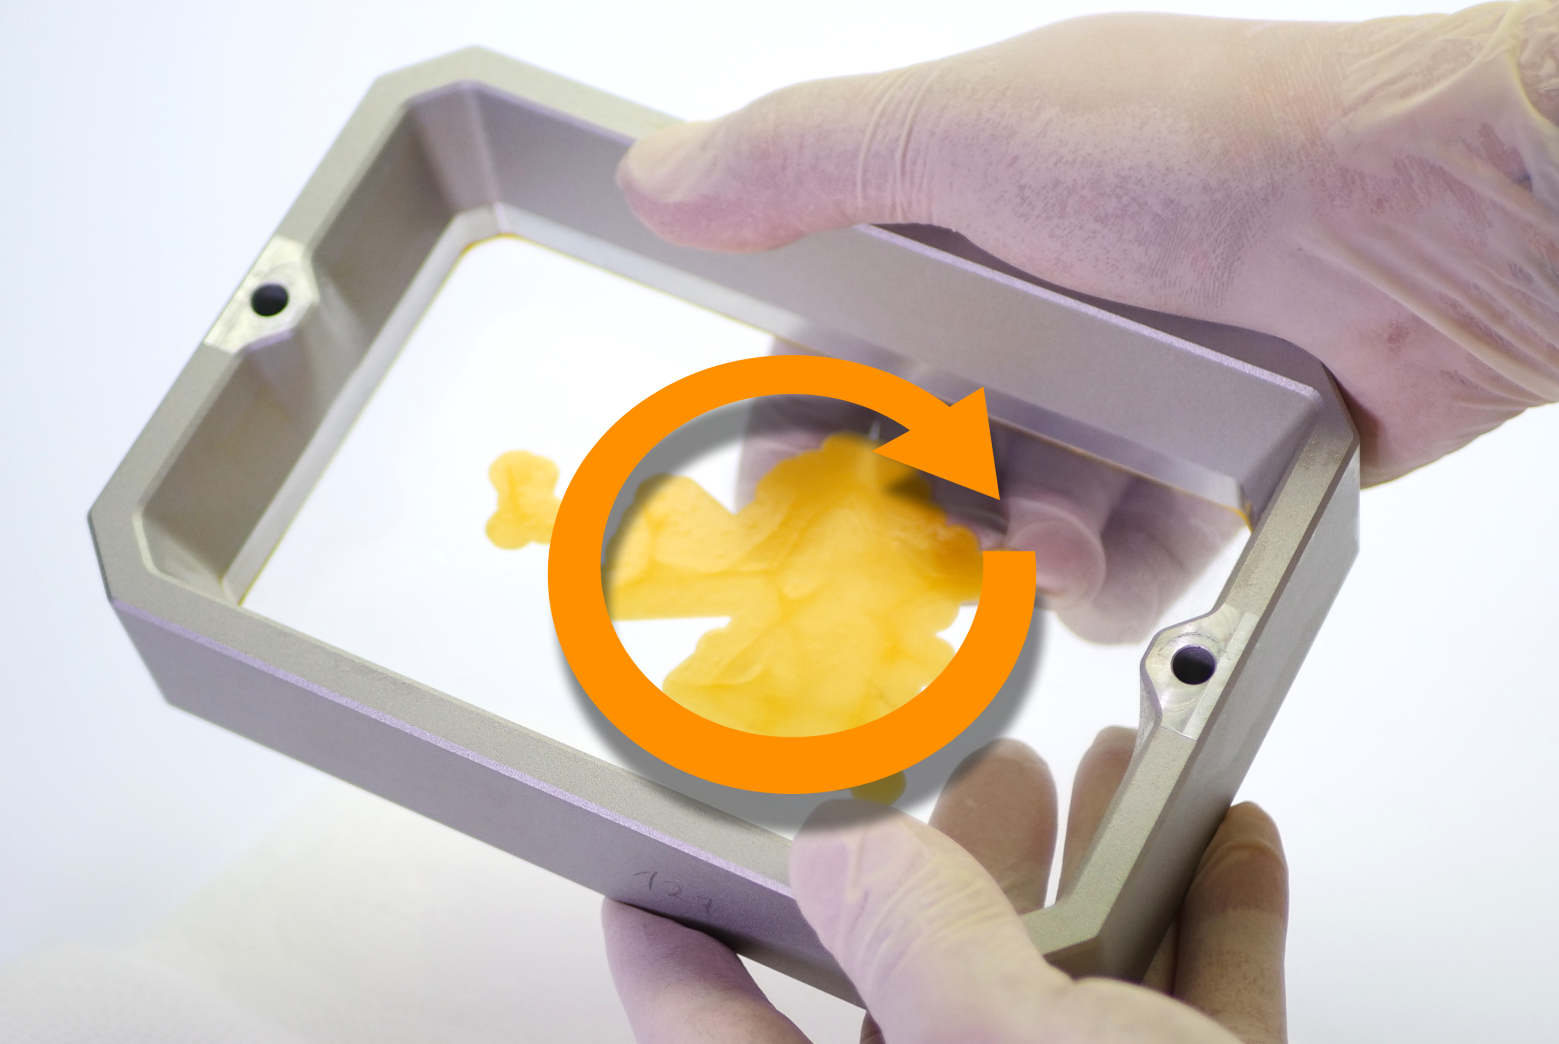
- Keep the tank in a horizontal position and use your fingertips (as shown in the picture below) to detach the solidified layer from the bottom. Use a reasonable amount of force and don’t use your fingernails. If the layer is larger, start from the edges and use a circular motion to detach it evenly. You will usually hear the sound of the layer detaching from the FEP film – this indicates that it’s working.
Once the stuck object is removed, clean the printer and the tank and try printing a sample object. If the print fails again, re-run the calibration process. The most common cause of this issue is an incorrect Z-offset of the printing platform.

Using the plastic spatula that comes with the printer can assist in removing the hardened piece of resin.

Make sure there are no small pieces of the residue of hardened resin before you start another print!
ログイン してコメントを投稿する
コメントなし