
Basic info
Description
PETG (Polyethylene Terephthalate modified with Glycol) is a commonly used technical material, popular among 3D printer users for its low price and good printability. It’s tenacious, with good temperature resistance; PETG is most commonly used for printing various mechanical parts, holders, clamps, and waterproof parts (thanks to great layer adhesion).
PETG has a glossy surface, adheres greatly to a print sheet, and does not shrink or warp (it has very little thermal expansion), therefore it’s suitable for printing large models. Plus, its high tenacity and flexibility often prevent it from breaking. Due to good temperature resistance, PETG parts are suitable both for interior and most exterior use (with temperatures below 80 °C). Parts of our printers are made of PETG!
The letter G in PETG means that it’s modified with glycol during the manufacturing process. Glycol makes PET less brittle, easier to print, and more transparent for translucent prints. Of course, you can print also with PET filaments without glycol. However, printing with only PET is challenging and does not offer any advantage whatsoever.
Although PETG is frequently used in food industry and is considered food-safe, we do not recommend it (or any other filament) for printing dishes or other stuff that comes into direct contact with food. The main reason is tiny print layer surface grooves that can support numerous bacterial colonies. But if you still want 3D printed dishes, we suggest applying a special layer that seals the surface (food-safe coating) and printing with a clean steel nozzle.
Some of the manufacturers enrich PETG with various additives and sell these materials under different names. For example, Spoolworks EDGE by E3D is modified PET/Copolyester Blend with additives. The goal is to acquire better visual qualities, surface and layer adhesion, etc.
To compare supported material properties, see our material table.
|
Pros |
Cons |
|---|---|
|
✔ Easy to print |
✖ Possibility of stringing |
|
✔ Good layer adhesion |
✖ Poor bridging and overhangs |
|
✔ Tough and durable |
✖ Not great for printing detailed parts |
|
✔ Low warping |
✖ Bonds strongly to the print surface |
| ✔ High temperature-resistance |
✖ Soluble in dangerous chemicals |
| ✔ Water and humidity resistant |
✖ Supports are hard to remove |
Best use
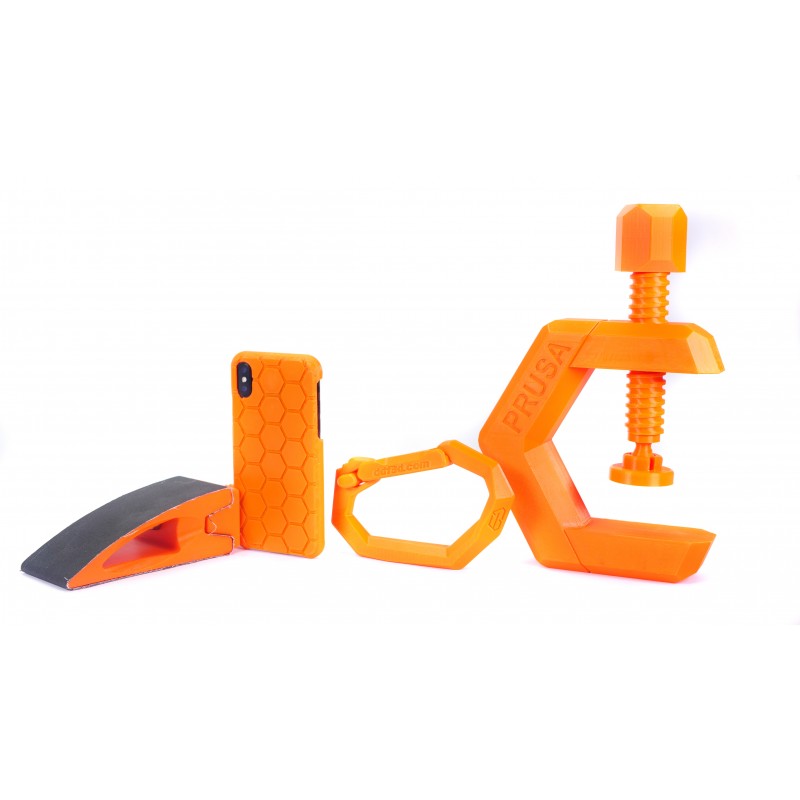
PETG is used universally but is especially suitable for mechanical parts for both indoor and outdoor use. We use PETG to print parts for our printers! Plastic bottles are also made from this kind of material.
Tips for successful printing
Temperature settings and cooling
Unlike PLA, PETG requires a heated bed (85 °C). Its bridging- and overhang-behavior is usually worse, plus it is prone to stringing. Stringing can be moderated with higher retractions and lower nozzle temperature, but we suggest using the PrusaSlicer profiles that should work fine. It’s important to cool the PETG print - this helps to keep the model detailed and prevents stringing and oozing. But if you want the model to be as tough as possible, try to turn off the print fan. Higher filament temperature improves merging between layers which leads to better mechanical resistance. Otherwise, we recommend printing the first few layers with the print fan off to prevent deformation, then with the fan running at half its power.
Print surface preparation
Make sure the print surface is clean, as described in our dedicated article. It is advisable to use one of the powder-coated print sheets. Do not print on the smooth PEI sheet as the adhesion may be too strong! If you decide to use the smooth PEI sheet anyway, apply a glue stick on it before printing.
Adding more perimeters for more solid parts
If you want to print truly solid parts, try to increase the number of perimeters instead of adding more infill.
Postprocessing
PETG can be easily sanded both dry and wet.
Dissolving PETG
Dissolving and smoothing PETG is possible only in a laboratory by skilled lab workers using dangerous chemicals (Dichloromethane).
Sample prints
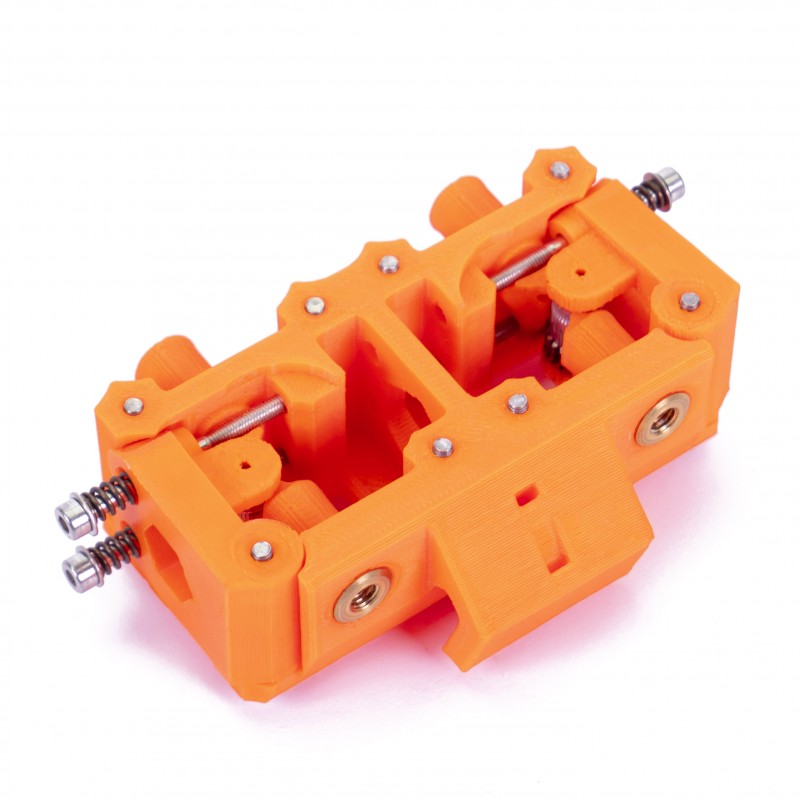 |  |
| MMU (Multi-Material Unit) | Electronics cover and other printer parts |
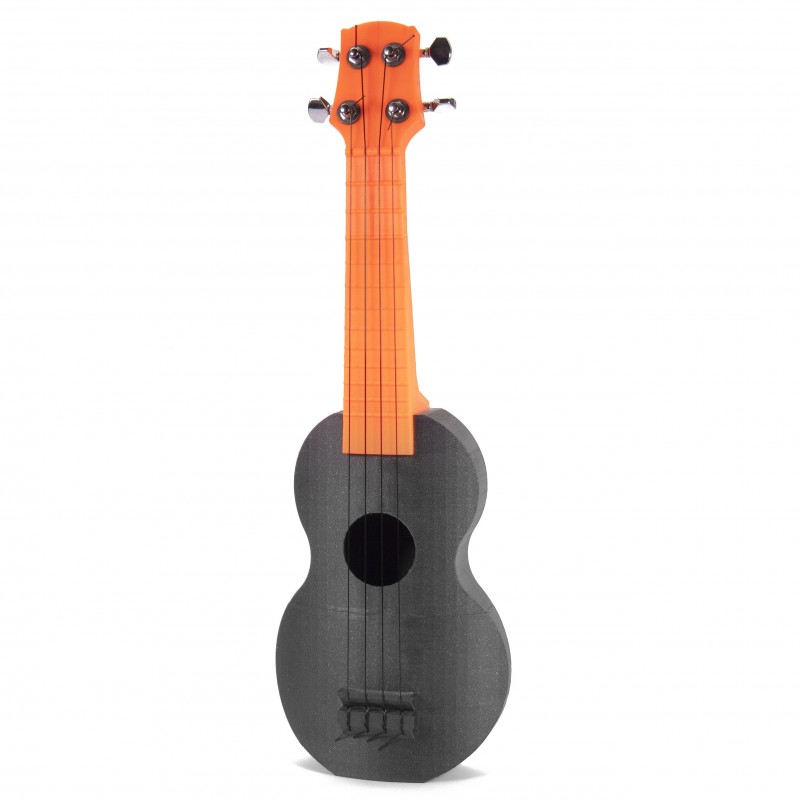 |  |
| Ukulele | Various mechanical parts |
 | 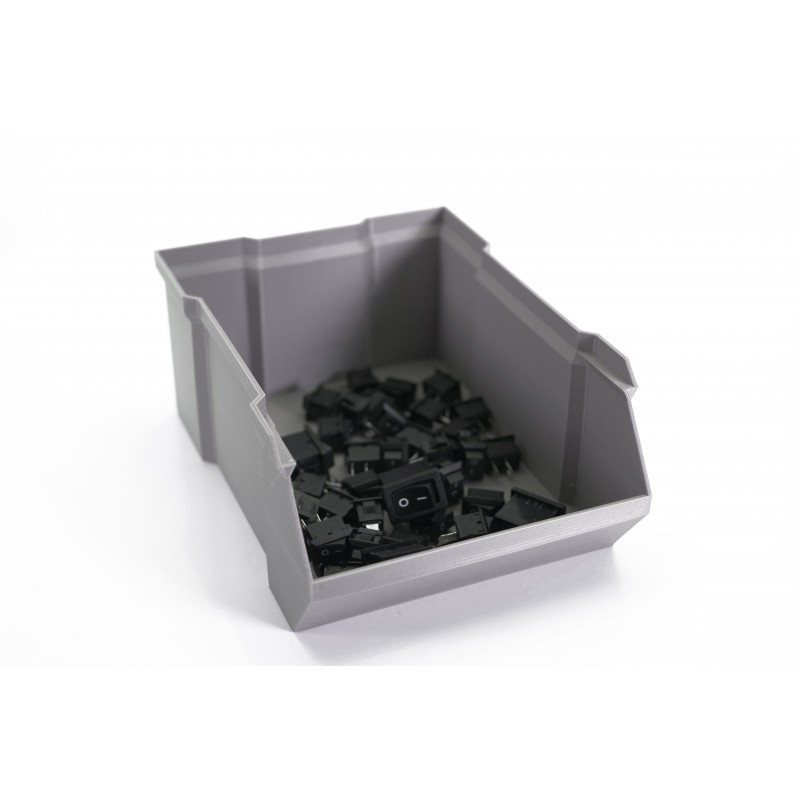 |
| Electronic parts | Boxes and organizers |
28 comments
The article above has different values. Should the values in PrusaSlicer be adjusted or is the recommendation to leave the newest defaults alone?
(I am using the newest firmware available - 6.4.0 / 3.0.3 (MMU3))
I would really like to know why the values in this article are different vs prusament presets. Maybe it's a good idea to put that into F.A.Q.
for some reason the default prusament filament settings on petg is 250 first layer and the rest layers
for generic petg is 240
My problem is that printing with petg the materials sticking on the bed but sticks some material at the nozzle of the printer
Hello. You can try increasing the fan speed for the overhangs. For more help, try contacting our support team directly, or ask for help on our forum.
for cases like this, it would be best to contact support directly by either useing the chat now buttong in the lower right, or via email at [email protected] so that way you can show picutres of the prints and first layer so they can see what you are and better assist you with this.
Trying to print using PETG the filament does not adhere well to the print surface (I use the Satin powder-coated sheet) and the filament is moving together with the print head, creating a complete mess.
Using the first layer calibration I get a perfect print.
The PETG filament is not by Prusa and in the Prusa slicer I tried to use both the Prusa PETG and the General PETG.
Any ideas?
Take pictures of the first layer and the issue you are having, and contact our support.