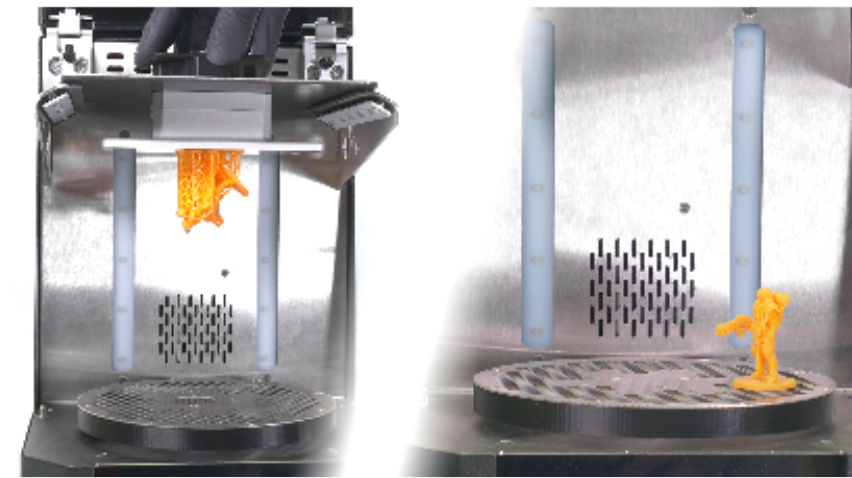
After you wash the object in isopropyl alcohol, we recommend rinsing it briefly under running water to remove the remnants of isopropyl alcohol. Then, dry it with a paper towel. Remove the tank from the CW1 and place the object on the rotating platform. Don’t place it in the center, instead, place it near the edge of the platform. Another option is to insert the whole printing platform with the object still attached.
The drying and curing times are set to 3 minutes each. It’s a default value that works well for a majority of 3D printed objects. In case you would still find the object a bit sticky, you can re-run the process until you reach the optimal result. You can set the run-times either via the Run-time menu or during the process itself by rotating the knob.
Once these actions finish, the CW1 will let you know with a beep (default settings, the sound notification can be disabled).