Thanks to the advanced operating system available on the Original Prusa SL1/SL1S SPEED printer, the user is able to transfer the sliced .sl1 or .sl1s files directly from the PrusaSlicer. There is no need to copy the sliced file on a USB drive and connect it to the printer.
Login credentials
The printer has two methods of security to connect with PrusaSlicer: API key and HTTP digest. They can be found in the printer menu in Main Menu -> Settings -> Network -> Login Credentials. The default of the printer is HTTP digest, which will generate a username and Password. It is also possible to disable the HTTP digest in the printer menu and use the API key, which will generate a single code. You will need either the API key or the User name and Password to connect with PrusaSlicer.
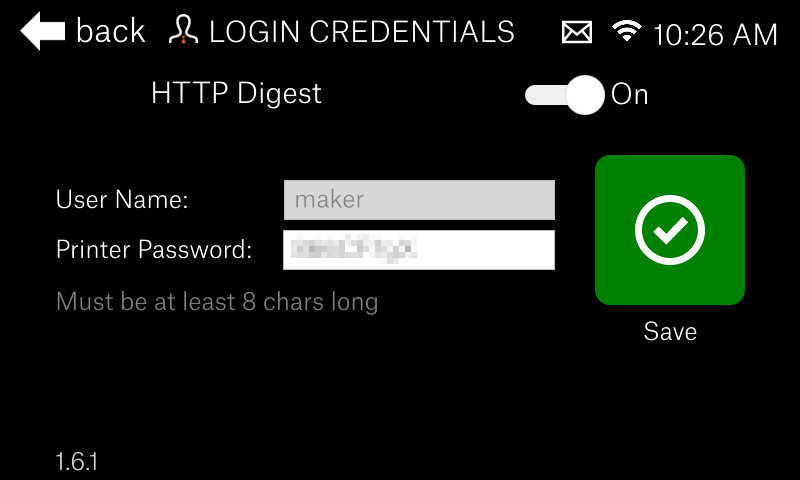
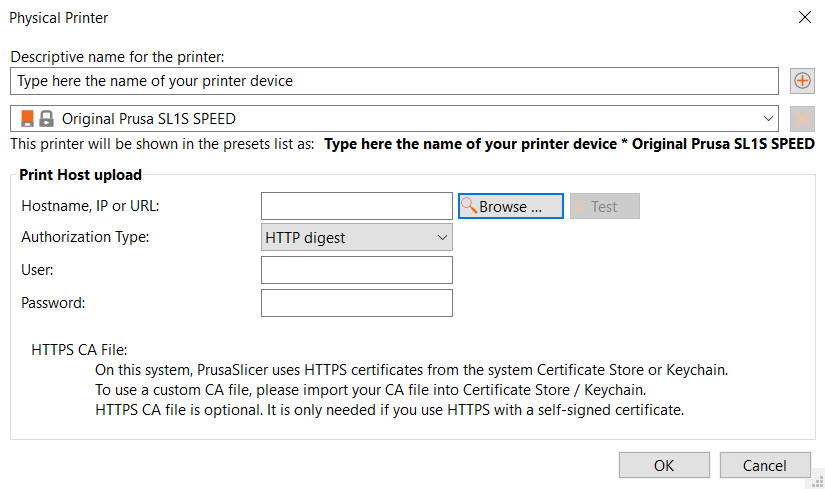
HTTP digest
If the HTTP digest option is on you will see a User name and Password which you use to connect to the printer remotely.
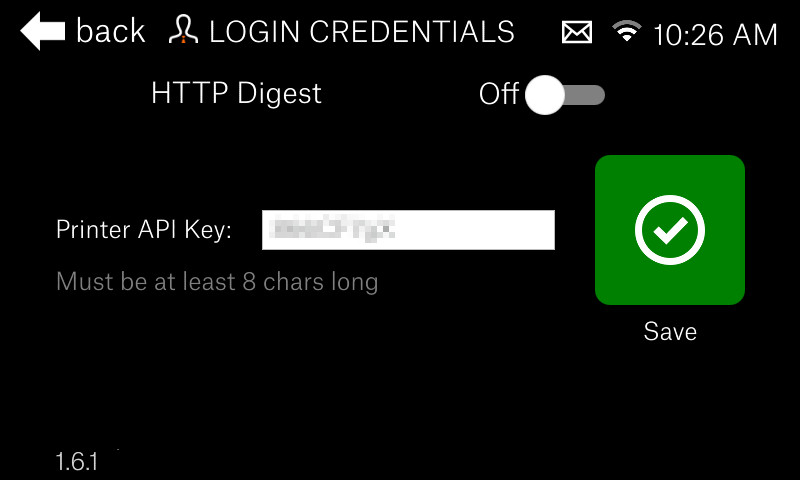
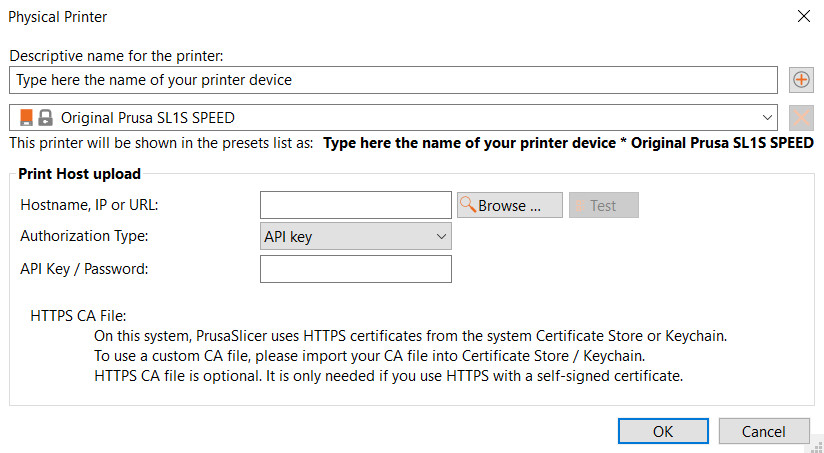
API key (less secure)
Turn the HTTP digest off to see the API key which you use to connect to the printer remotely.
IP address or Hostname
In order to identify the printer you are connecting to in PrusaSlicer, it is also necessary to find the IP address or Hostname of your printer.
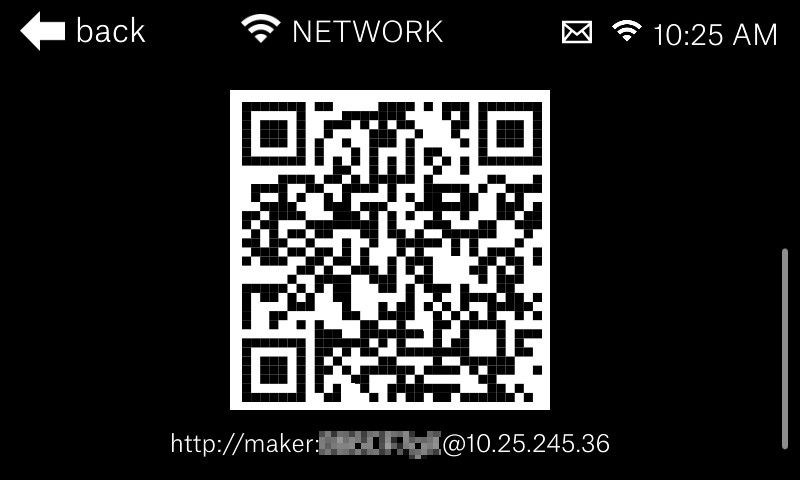
IP address
To find the IP address go to Main Menu -> Settings -> Network, and scroll to the bottom of the page. There you will see a QR code and the IP address.
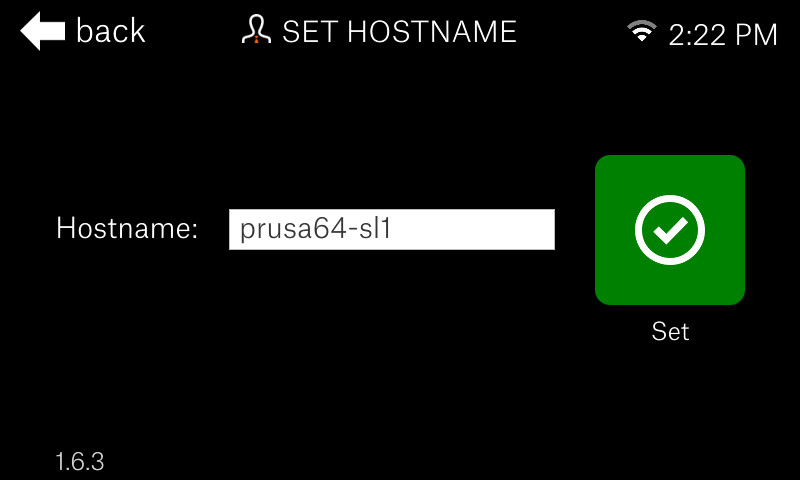
Set hostname
You can find the hostname in Main Menu -> Settings -> Network -> Set hostname. If you wish to change it, click on the name, and confirm it when done.
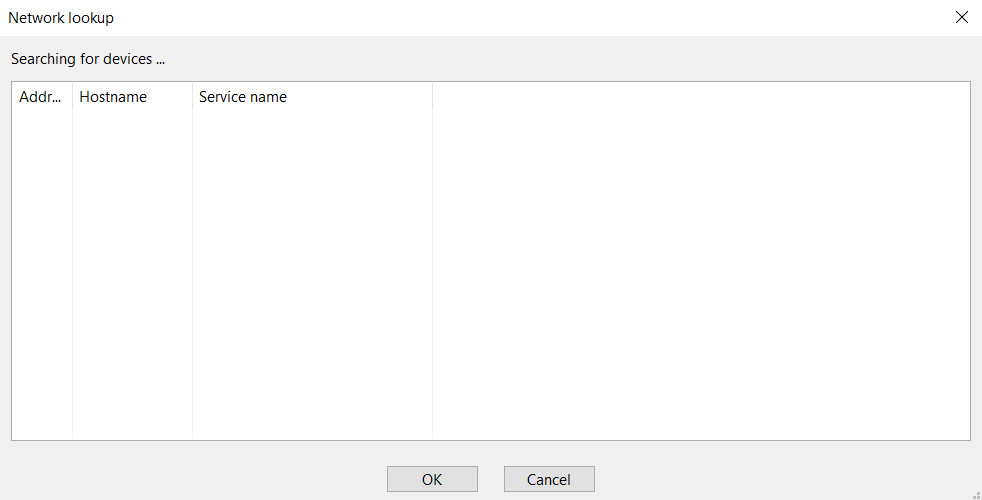
Connecting to PrusaSlicer (Add physical printer)
 | 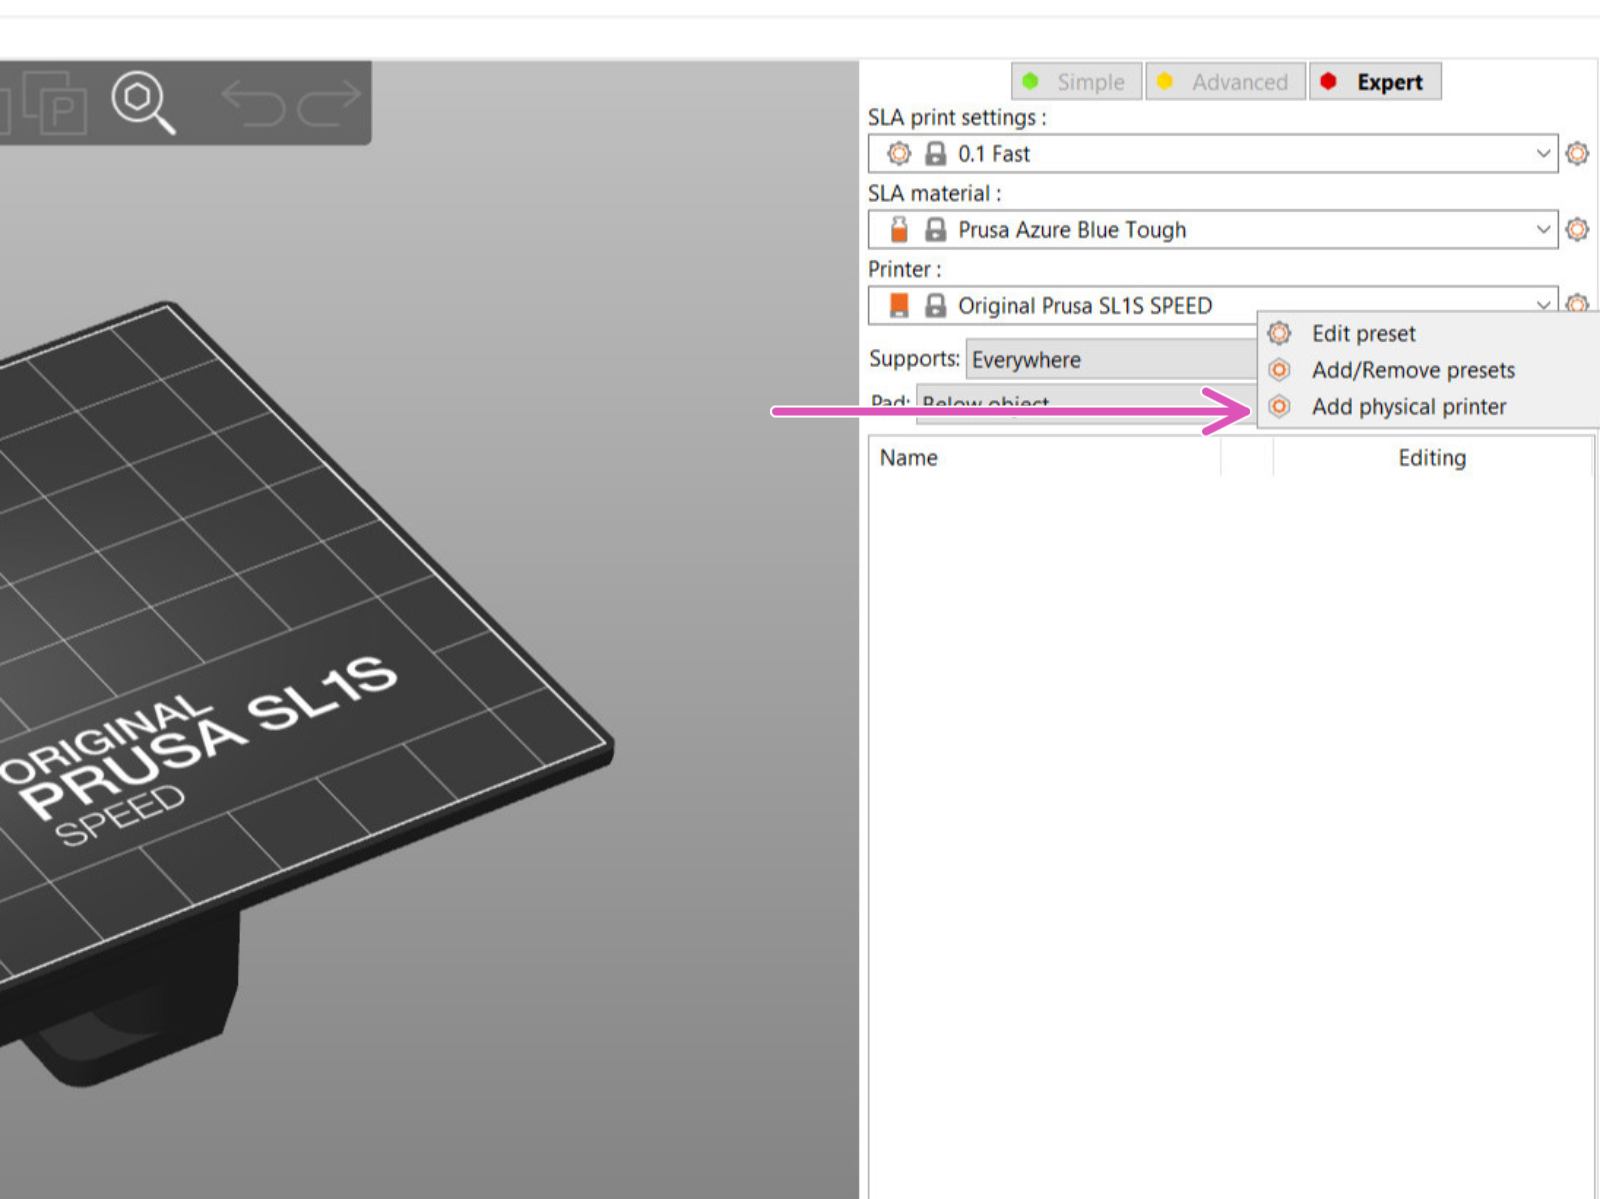 |
The two ways to 'Add Physical printer'.
 |  |
Uploading a print
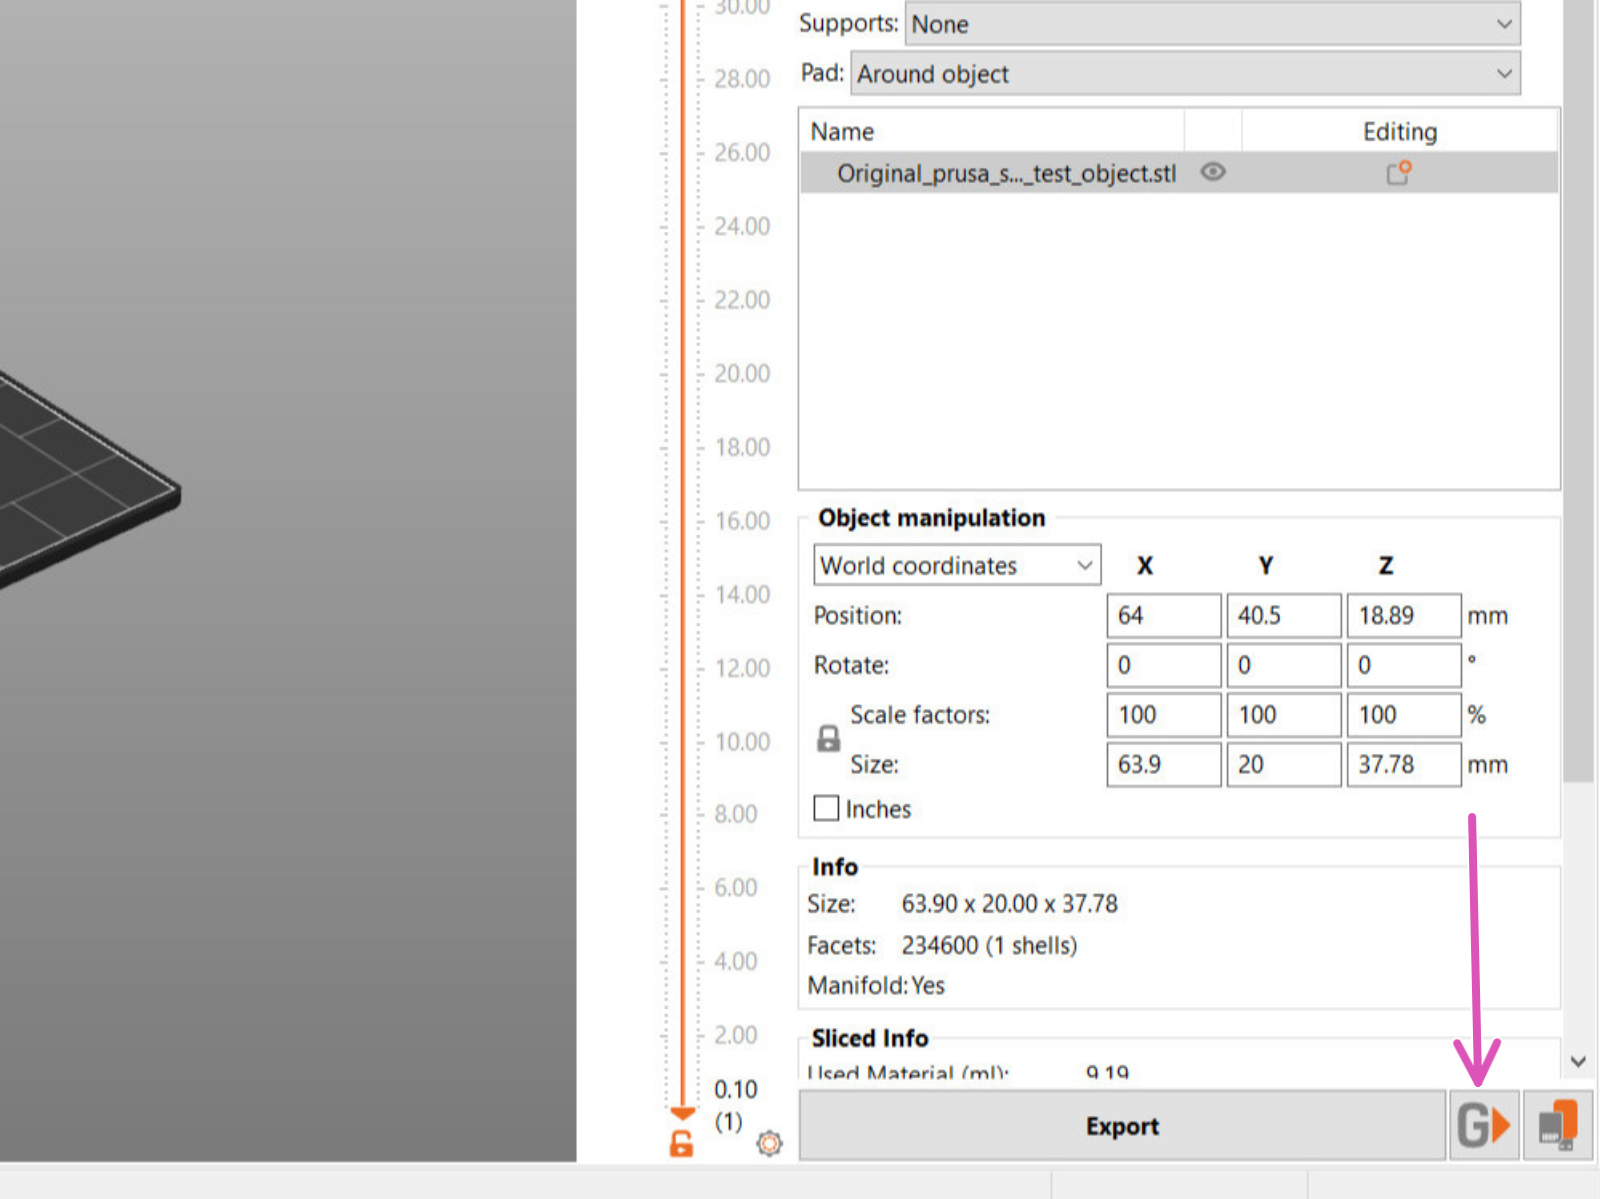
After the model is sliced and you are ready to print, click the G button, located in the bottom-right, next to Export. You will be prompted to give a file name and confirm the upload. Once received, you will be able to start the print from the Print-menu, on your Printer.
Pro tip: Once the file is sliced, use shortcut Ctrl+Shift+G to send the file.
2 comments
Un saludo,